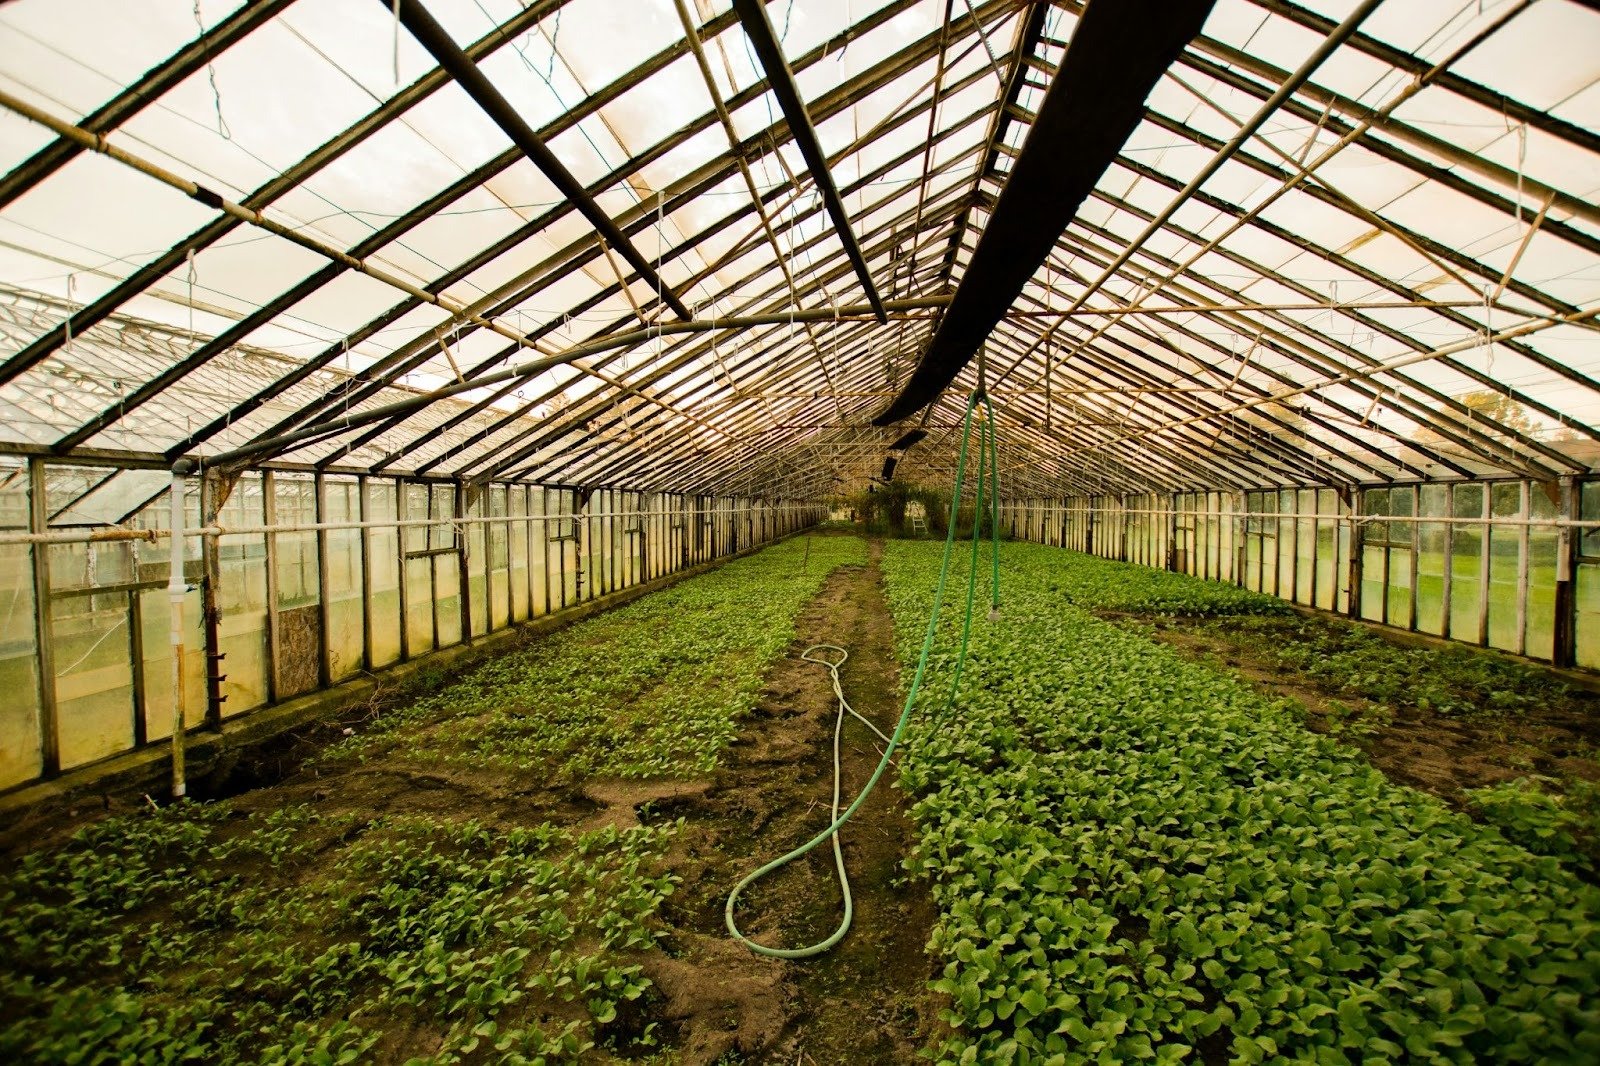
Is it a familiar picture: the center of the greenhouse is pleasing to the eye with strong, healthy bushes, but in the corners there is water again, the ground has turned into impenetrable mud, and the plants are turning yellow before your eyes? Why is it that mold constantly breeds there, and seedlings perish from root rot? How many kilograms of potential harvest do you lose each season trying to fight this “dead zone”?
Siltation of greenhouse corners is not just an aesthetic defect or a puddle on the path. It is a symptom of serious engineering and agronomic errors that literally suffocate your plantings. In overwatered soil, oxygen is instantly displaced, root system hypoxia occurs, macronutrient assimilation (especially phosphorus) stops, and fusarium and phytophthorosis get ideal conditions for rapid reproduction.
In this article, we move away from superficial folk advice of the “just put some sand in it” format. What we have in front of you is a comprehensive technical guide. We will analyze the physics of greenhouse “swamp” formation and give specific engineering and agronomic solutions adapted to the climate and soils of Ukraine, which will help to permanently dry out the corners and save your crop.
The physics of the problem: why is it the corners that suffer?
To effectively solve the problem, it is necessary to understand the mechanics of water and air movement. Greenhouse corners become a «swamp» due to the synergy of three physical factors: condensate hydraulics, space aerodynamics, and soil capillarity.
Architectural condensate drainage (Hydraulics of covering materials)
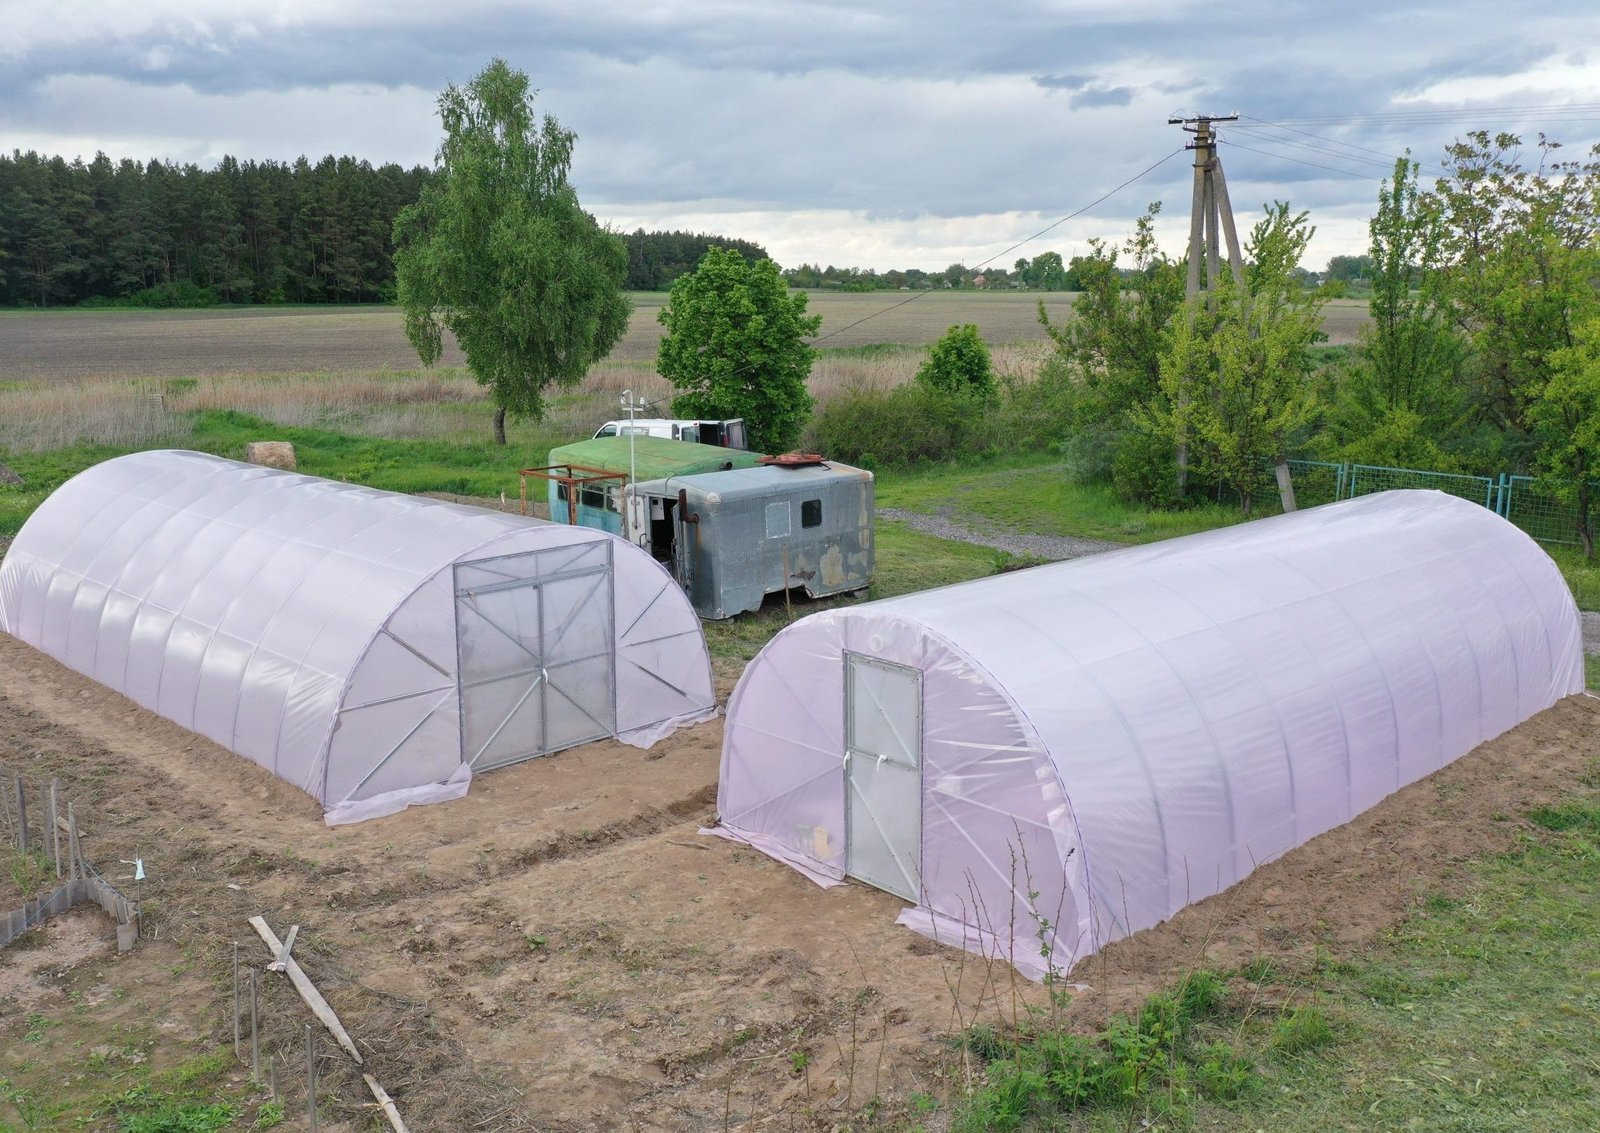
In arched and gable greenhouses, huge amounts of dew form on the inner surface due to the difference in day and night temperatures.
- Technical data: In a standard 3 by 8 meter greenhouse, 10 to 15 liters of condensation can form in one cool night.
- Mechanics: Because of the surface tension force and the slope of the frame, water does not drip down evenly (unless a special film is used), but rolls down the arcs and profiles to the lowest points - the corner posts.
- Example: Up to 40 percent of all internal moisture is dumped precisely into the 4 corners. This is equivalent to pouring 1.5 to 2 liters of water directly under the root of each corner plant every morning in addition to the main watering.
Aerodynamic dead zones (Ventilation)
Corners are areas of critical stagnation of air masses. The geometry of the greenhouse creates resistance to air flow from doors or outlets.
- Technical data: When the end doors are open, the air velocity in the center of the greenhouse is approximately 0.5 - 1.2 meters per second. At the same time, in the corners, the air velocity drops to almost zero (0.01 - 0.05 meters per second).
- Mechanics: Due to the absence of wind, the process of transpiration (evaporation of moisture by leaves) and evaporation of water from the soil surface slows down 4-5 times. Moisture trapped in the soil remains trapped there.
External water backing (Soil capillarity)
If the greenhouse has no external drainage, it acts as a huge catchment, directing rainwater under its own foundation.
- Technical data: A summer downpour that gives 20 millimeters of rain drops about 480 liters of water from the roof of a 24 square meter greenhouse.
- Mechanics: This water falls along the walls. Ukrainian chernozems and loams have a high capillary capacity - they can attract and transmit moisture horizontally up to 1-1.5 meters. Water soaks the soil from the outside and is pulled up inside the greenhouse. The corners suffer the most, as water flows from two slopes (side and end) converge there.
Comparative table of microclimate: Center vs Corners
| Physical parameter | Greenhouse Center (Norma) | Greenhouse corners (Risk area) | Implications for corners |
|---|---|---|---|
| Air velocity | 0.5 - 1.2 m/s | Less than 0.05 m/s | No evaporation, air stagnates |
| Natural evaporation from soil | 150 to 200 grams per hour | 30 to 50 grams per hour | The soil does not dry out between waterings |
| Accumulation of condensation at night | Spread evenly | Focuses at 4 points | Daily overflow of 1.5 - 2 liters |
| Soil temperature (spring) | Warms up quickly (+18 C) | Accumulates cold (+12 C) | Growth retardation, phosphorus starvation |
| Air humidity (local) | 60 - 75 % | 90 - 100 % | 100% risk of phytophthora outbreak |
Level 1: Civil Engineering Solutions (Foundation and Drainage)
The fight against waterlogging has to start from the outside. If the groundwater is high (typical for Polesie and some parts of central Ukraine) or the greenhouse is on dense chernozem/loam, drainage is essential.
1. External ring drainage (French Trench)
This is the base. The goal is to intercept the water before it gets under the foundation.
- Technical parameters: The trench is dug along the perimeter at a distance of 30-50 cm from the greenhouse wall. Depth: below the level of the fertile layer (usually 40-60 cm). Slope of the trench bottom: 1-2 cm per 1 linear meter towards the catchment well.
- Materials (available in Ukraine):
- Geotextiles: Needle-punched. Density at least 150-200 g/m² (e.g. brands Agreen, Runa, Geopulse). It will prevent the pipe from siltation.
- Drainage pipe: Corrugated with perforation, diameter 110 mm (e.g, Instalplast, Europlast). It is better to take without factory filter (coconut/cloth), as in Ukrainian loams they quickly clog - it is better to wrap the whole trench.
- Backfill: Granite crushed stone, fraction 20-40 mm. Do not use limestone crushed stone - it dissolves over time and changes the pH of the soil.
2. Roof drainage system (Gutters)
Water from the roof of a 3×8 meter greenhouse gives about 500 liters of water in one heavy downpour (20 mm of rainfall). If it falls under the wall, the corners will «float».
- Solution: Installation of PVC gutters. Budget systems with a diameter of 90-100 mm gutter and 75 mm pipe (popular on the market of Ukraine: Bryza, Profil, Rainway). The water outlet from the pipe should be at least 1.5-2 meters from the corners of the greenhouse.
Level 2: Agronomic Solutions (Working with Soil)
If the greenhouse is already standing and it is too late to dig trenches, we solve the problem inside. Ukrainian chernozems are great, but in a greenhouse without rain they are prone to compaction and moisture retention.
1. Formation of high ridges and “Capillary Bursting”
In the corners of the greenhouse, the beds should be raised 20-30 cm above the level of the paths. A capillary break is created to isolate the corner bed from moisture pulling up from below:
- Thirty centimeters of soil in the corner is taken out.
- 10 cm of coarse expanded clay or broken bricks are laid on the bottom.
- On top - agrofiber (so that the earth does not fall through the drainage).
- An improved ground is returning.
2. Modification of substrate structure
The soil in the corners should be as well drained as possible (moisture-holding, but not retaining free water).
- Corner Zone Recipe: Loosening agents (up to 30% of volume) should be added to the base soil.
- What to use: * Agroperlite (fraction 2-5 mm, production Ukraine, for example, Browarsk plastics plant or localized careers).
- Coarse-grained river sand (not gully sand, gully sand contains clay!).
- Top peat (with a neutralized pH of 5.5-6.5, e.g., Peatfield, Domoflor).
3. mulching
Bare, wet soil in the corner is a breeding ground for algae and fungi. Mulching solves this problem by isolating moisture from the air and preventing crusting.
- Optimal: Black or black and white agrofibers with a density of 85-100 g/m² (50 g/m² agrofiber is too thin for this purpose, weeds will pick it up). Straw with a layer of 7-10 cm also works well.
Level 3: Irrigation Engineering (Blind Drop Zones)
Incorrectly set drip irrigation - a frequent cause of waterlogging is the ends (corners) of the beds.
1. use of compensated drips
If you use a cheap “blind” emitter strip without pressure compensation, water at the end of the line (in the corners) may either not flow or, if the greenhouse is sloped, on the contrary - drain there in excess after the pump is turned off.
- Solution: Use Pressure Compensated drip tubes (PC - Pressure Compensated). They deliver a strictly defined water volume (e.g. 1.6 or 2.0 l/h) regardless of the system pressure.
- Proven brands on the Ukrainian market: Metzerplas, Rivulis (Israel/Europe) or high quality domestic analogs such as tubes Santehplast (Kharkiv).
2. Umbrella type shut-off valves
Be sure to install individual mini-cocks (tap starters) on the drip lines leading to the corners. Since corners dry out slower, you can manually shut off watering the end rows for 1-2 cycles while the center rows are being watered.
Level 4: Condensation control and climate control
As mentioned above, moisture runs down the walls into the corners.
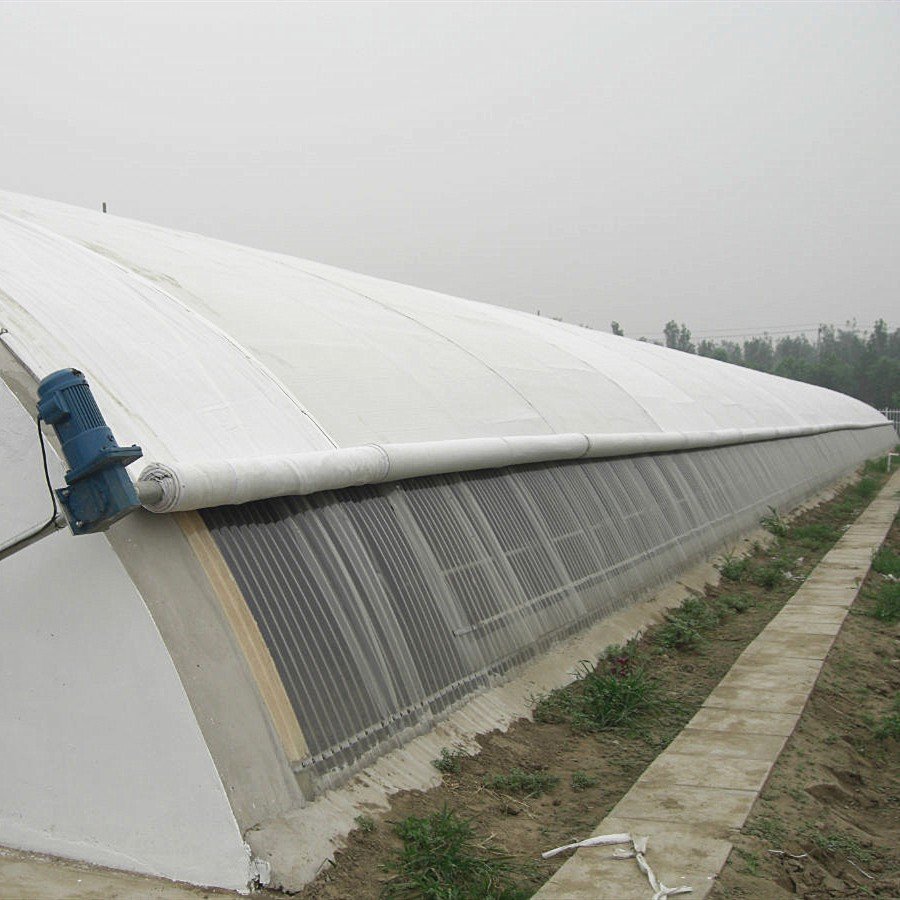
1. anti-condensation greenhouse films
If you use film, it should have a special coating.
- Anti-Drip technology: This film changes the surface tension of water. Condensation does not collect in large drops (which then fall on leaves and roll down in streams into corners), but forms a thin, transparent water film that runs imperceptibly down the profile.
- Markings and tolerances: Look for films with a thickness of 120-150 microns, with UV stabilization for 4-6 seasons (UV4-UV6) and marking AD or Anti-Drip/Anti-Fog. On the Ukrainian market these are Planet Plastik (Union), Sotrafa (Spain), Vatan (Turkey). Important: the film with anti-condensation should be stretched with a strictly defined side inside the greenhouse (usually there is a sign “INSIDE”).
2. combating air blind spots
- Side ventilation: If you only have end vents, the corners are doomed to be damp. You need a system for twisting the side foil (manual reducers are inexpensive) at least 1 meter off the ground.
- Active circulation: Installation of a small axial fan (household duct fans with a diameter of 100-125 mm are suitable) directed along the diagonal of the greenhouse to “disperse” stagnant air in the corners.
Salvage Plan: What to do if a swamp has already formed?

If the season is in full swing, water squelches in the corner, and the ground smells like rotten eggs (hydrogen sulfide) - this is a signal that anaerobic rotting processes have begun in the soil. Plants are in a state of acute hypoxia. In this case, emergency resuscitation measures are required.
Emergency Drainage Pit (Sump Well)
If water is standing on the surface, simple evaporation will not help. Physical drainage of free moisture is required.
- Mechanics: Water in the soil always follows the path of least resistance. By creating a void below the root level, you will force water to flow there by gravity.
- Technical data: Indent 20-25 centimeters from the stem of the outermost plant. Make a hole 60-80 centimeters deep with an ordinary garden drill (diameter 100-150 millimeters) or a narrow spade.
- Implementation: Insert a piece of plastic sewer pipe (diameter 110 millimeters) into the pit, pre-drilling dozens of holes in its walls with an 8-10 millimeter drill bit. Wrap the pipe with a piece of agrofiber to prevent the holes from siltation.
- Efficiency: In dense loam such a mini well collects from 3 to 5 liters of water per day. Put a drainage pump in it once a day or scoop out the water.
Deep aeration (Oxygen shock)
The suffocating roots urgently need air to start regeneration processes.
- Mechanics: It is necessary to physically break the dense crust and create channels for oxygen to enter without digging up the plant.
- An example of the right thing to do: Take a garden fork. Stand 15-20 centimeters away from the bush. Drive the pitchfork vertically to a depth of 20-25 centimeters. Carefully deflect the cuttings 15 degrees to yourself and return to the original position. Do not turn out the clod of earth! Your goal is to create deep gaps. Make 3-4 such punctures around each plant at risk.
- Technical data: This procedure raises the oxygen level in the root zone from a critical 2-3 percent to an acceptable 10-15 percent in 24 hours.
Hard lock irrigation (Moisture Quarantine)
The most common mistake is to continue watering the corners “a little at a time” along with the rest of the greenhouse.
- Mechanics: Completely close off the drip tape leading into the wetland (use a mini crane or tightly crimp the tape with a staple).
- Technical data: Quarantine should last from 7 to 14 days. How do I check if the soil is ready? Take a handful of soil from a depth of 10 centimeters and squeeze it in your fist. If water is released or the lump molds like plasticine - water early. The earth should disintegrate when lightly pressed (this corresponds to a moisture content of about 60 percent).
Bio-impact on pathogens (Microflora replacement)
Waterlogged and warm soil is an ideal incubator for root rots.
- Comparison of approaches (Chemistry vs. Biology):
- Hard chemistry (Copper Sulfate, Previcurus): Fires not only pathogens, but also remnants of beneficial soil microflora. Additionally burns weakened root hairs. The plant stops growing for 2-3 weeks. Not recommended during the stress phase.
- Biofungicides: Inoculate the soil with predatory fungi or bacteria that kill pathogens and release natural growth stimulants to rebuild the root system.
- Recommendation: Use a tank mixture based on Trichoderma (antagonist fungus) and Hay bacillus. In Ukraine, Trichodermin + Phytosporin (or Sporomax) have proved to be excellent.
- Technical data: Dilute the biopreparations strictly according to the instructions in warm (20-25 degrees Celsius), tempered water without chlorine. Pour 0.5 liters of the solution directly into the puncture zones from the forks, so that the bacteria get directly to the roots.
Surface Absorbents (Soil Sponges)
To stop the growth of green algae on the surface of the ground, you need to instantly dry the top layer 2-3 centimeters thick.
Comparative table of absorbents for emergency soil drying:
| Absorbent material | Water absorption (of own weight) | Agronomic effect | Recommendations for use |
|---|---|---|---|
| Agroperlite (fraction 2-4 mm) | Up to 400 percent | Loosens the soil, improves respiration, is neutral | The perfect choice. Spread a layer of 2-3 cm directly on puddles and mud. Later, carefully incorporate into the soil. |
| Dry peat (top peat) | 200 to 300 percent. | Slightly acidifies the soil, enriches with organic matter | Use only neutralized peat with an acidity index of 5.5-6.5. The layer is 3-5 cm. |
| Dry sawdust (wood shavings) | Up to 300 percent | They are excellent at drawing moisture, but actively take nitrogen from the soil | With caution. Before application, sawdust should be soaked in a solution of urea (urea) to compensate for nitrogen loss. |
| Wood ash | 50 to 80 percent | Reduces acidity, works as a powerful antiseptic | Sprinkle a very thin layer (powdering). Do not use on soils with high alkalinity to avoid blocking iron absorption. |
| Dry river sand | 15 to 20 percent | Weights the soil structure but breaks up surface crust well | Weak absorbent. Suitable only for temporary breaking of dense clay crusts. Layer of 1-2 cm. |
Summary: Checklist for the correct greenhouse angle
- The exterior is provided with a storm drain and, if necessary, a drainage trench.
- The bed in the corner is raised 20+ cm.
- 20-30% perlite or coarse sand was added to the corner soil mix.
- Installed individual faucets for watering corner areas.
- The greenhouse film has the property of Anti-Drip (anti-condensation).
- The soil is mulched and there is ventilation at the bottom of the wall.
Control of waterlogging in the corners of the greenhouse
Combating waterlogging in the corners of the greenhouse is a complex task that does not tolerate half-measures. Hoping that the moisture will «dry itself out» inevitably leads to the loss of part of the crop due to root rot and hypoxia.
The solution to this problem requires a systematic, engineering and agronomic approach: from competent drainage of rainwater outside to point adjustment of drip irrigation systems and modification of the soil structure inside. Investments in proper drainage, quality anti-condensation films, compensated drip and agro-perlite pay off in the first season by preserving the health of plants and increasing their productivity. Remember: the foundation of a healthy and productive greenhouse is laid not only in the quality of seedlings, but also in strict control of excess moisture.