



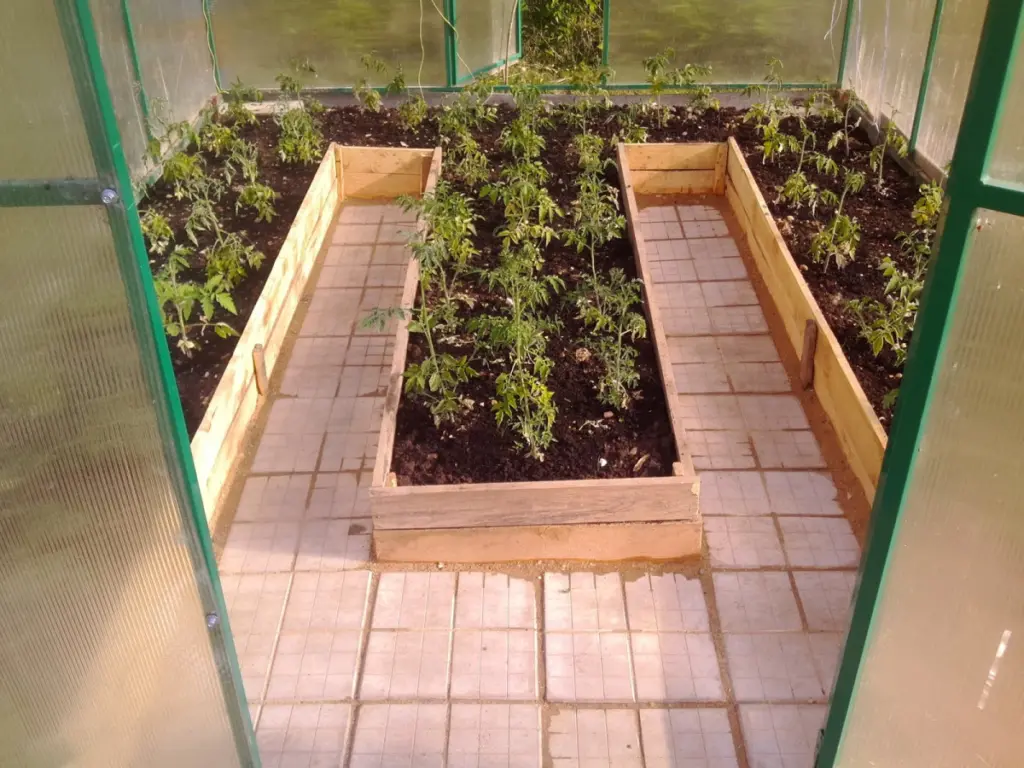
How to Check Greenhouse Drainage: A Complete Technical Guide for Maximum Yields
Proper drainage isn't just about «letting the water run off.» It's a fundamental life-support system. your greenhouseWithout it, you create not an ideal microclimate, but rather swampy conditions, which are fatal for most plants. Roots suffocate, diseases thrive, and expensive fertilizers become poisonous.
«Nova Teplitsa» has many years of experience in the design and installation of greenhouse complexes, and this experience shows that 9 out of 10 problems with plant growth in new greenhouses are directly or indirectly related to errors in moisture management.
This article isn't just a collection of tips. It's a comprehensive technical guide based on agronomic principles and Ukrainian building codes (DBN/DSTU). We'll cover everything from visual diagnostics to professional testing and engineering solutions applicable to both summer cottage greenhouses and farms.
Why Drainage Is Your Greenhouse's «Breathing System»
To understand how to test drainage, you need to clearly understand what we're testing. Water drainage is just the tip of the iceberg.
- Root System Aeration: Roots breathe. They need oxygen (O2) for cellular metabolism. When soil pores are filled with water (the «water table» condition), oxygen is displaced. The roots begin to suffocate within a few hours, leading to their death and the development of root rot.
- Nutrient Availability: Waterlogging alters the soil’s pH and inhibits the activity of aerobic bacteria (beneficial microorganisms). Under anaerobic (oxygen-free) conditions, many micronutrients—especially iron (Fe) and manganese (Mn)—convert into forms that are unavailable to plants. You can apply the best fertilizers, but the plant will still suffer from nutrient deficiency (a condition known as «chlorosis»).
- Disease Prevention: 90% fungal and bacterial pathogens (such as Pythium and Phytophthora) thrive in damp conditions. Waterlogged soil and high humidity are the perfect breeding ground for them.
- Structural Integrity: Constant dampness at the base of the greenhouse destroys the foundation (concrete, wood) and can lead to soil subsidence, disrupting the geometry of the frame.
Audit of existing drainage systems: What's under your feet?

Before testing, take inventory. What drainage systems do you already have?
| System type | Description | What to look out for |
|---|---|---|
| Natural drainage | The greenhouse stands on open ground without any special preparation. | Your soil type (clay, loam, sand). |
| Near-surface | A gravel «bed» beneath the entire layer of soil; drainage holes in the boxes. | Is there a slope at the base? Are the holes clogged? |
| Deep (French drainage) | Perforated pipes (drains) laid in trenches with gravel and geotextile. | Where are the pipes located? Is there free water flow? |
| Container/Rack | Plants in pots, cassettes or on shelves with trays. | The size and cleanliness of the drainage holes in the pots. |
If you have professional drainage pipes installed, they are marked with a hardness rating of SN4 or SN8. SN4 is suitable for installations at depths of up to 2-3 meters, while SN8 is suitable for higher loads (under walkways, at greater depths).
Drainage testing methods: from visual to engineering
We'll move from simple methods to complex ones. Often, the problem is diagnosed in the first step.
Method 1: Visual and organoleptic diagnostics (First examination)
This is the fastest and free test.
- The «Puddle» Test: Water thoroughly. Time the process.
- Norm: Water is absorbed within 5-10 minutes. Puddles on the surface are unacceptable.
- Problem: Water remains on the surface for more than 30 minutes.
- Surface Inspection:
- Green bloom (algae) or moss on the soil surface, on the edges of beds or foundations - 100% is a sign of chronic waterlogging.
- Efflorescence (white salt deposits) on the foundation or brickwork. These are salts that water «draws out» of the material as it evaporates. This is a sign of constant moisture seepage.
- Diagnostics by Plants:
- Lethargy in wet soil: A classic symptom: The plant withers not from thirst, but because the suffocated roots are unable to pump water.
- Chlorosis: Yellowing of lower leaves (lack of nitrogen and magnesium, washed out or blocked by water) or young leaves (lack of iron).
- «Edema» (Water Retention): Bumps or «calluses» on the underside of the leaves (common in peppers and tomatoes). The plant is absorbing more water than it can evaporate.
- «Smell» Test: Take a handful of soil. It should smell like «soil.» If it has a sour, rotten, or «swampy» odor, that’s a sign of anaerobic processes.
Method 2: Percolation Test for Ground Greenhouses
This is a key «professional» test for ground-level greenhouses or those with deep beds.
Target: Measure the rate at which the soil can absorb and drain water.
Tools: Shovel, tape measure, bucket of water, watch.
Step-by-step instructions:
- Dig a hole: At several control points of the greenhouse (especially problematic ones), dig a hole approximately 30x30 cm in size and 30-40 cm deep.
- Primary saturation: Fill the hole to the top with water and let it soak in completely. This is necessary to saturate the dry soil and achieve a realistic absorption rate.
- Measurement: Fill the hole with water again. Place a tape measure (or a stick with marks) in the hole.
- Data capture: Measure how many centimeters the water level has dropped in 1 hour.
Interpretation of results (Agronomic tolerances):
| Infiltration rate (cm/hour) | Soil type | Drainage characteristics | Risks |
|---|---|---|---|
| > 10 cm/hour | Sandy | Too fast | Rapid drying, leaching of nutrients. |
| 2–5 cm/hour | Loam, black soil | Ideal | Optimal balance of moisture retention and aeration. |
| 1–2 cm/hour | Heavy loam | Satisfactory | Requires controlled watering, there is a risk of stagnation. |
| < 1 cm/hour | Clay soil | Bad (Stagnation) | Guaranteed waterlogging, root rot. |
For professional assessment, DSTU 8773:2018, «Soils. Methods for Determining Mechanical (Particle Size) Composition» (soil type determination), and infiltration assessment methods are used. For a hobby gardener, the test described above is sufficient.
Method 3: Test for containers and raised beds
- The «Free Strait» Test: Water the pot or bed until water begins to flow freely from the bottom holes.
- Diagnostics: Water should appear in the tray within 1–2 minutes and flow freely. If it’s «dripping» or doesn’t appear, the drainage holes are clogged with soil or roots.
- «Perched Water Table» Test: This is an advanced test.
- Choose a pot that you think drains well. Water it and let the water «drain out» until the very last drop.
- Now tilt the pot strongly at 45 degrees.
- Result: If water started flowing out of it again (sometimes quite a lot)—congratulations, you have a «pseudo-swamp.» This is a layer of soil supersaturated with water that is held in place at the bottom by capillary tension and won’t drain away until you «break» its slope.
- Cause: Substrate that’s too fine (too much peat) or the myth about a «layer of gravel» at the bottom. Contrary to popular belief, a layer of gravel at the bottom of the pot does not improve drainage—it actually WORSE it by bringing that «swamp» closer to the roots.
Solutions and Optimization: What to Do About Poor Drainage

The diagnosis has been completed, the problem has been identified. Here are the engineering and agronomic solutions.
Problem 1: Heavy clay soil (Percolation < 1 cm/hour)
Solution No. 1 (Capital): Raised beds. This is the best solution. You'll completely isolate the root zone from the problematic parent soil. The beds should be at least 30-40 cm high.
Solution #2 (Local): Deep loosening and introduction of structuring materials.
- Don't just add sand! A mixture of clay and sand often produces a concrete effect.
- The right «recipe»: Add coarse river sand (not quarry sand), compost, peat, and perlite. The goal is to create a crumbly structure.
- Plastering: The addition of gypsum (CaSO4) helps to aggregate (glue) small clay particles into larger ones, improving the structure.
Problem 2: «Fake Swamp» in Pots and Garden Beds
Solution: Change the composition of the substrate.
- Reduce the proportion of fine peat.
- Increase the proportion of large aerating components: perlite (fraction 3-5 mm), agroperlite, coconut chips, expanded clay (fine fraction, mixed with the soil, not on the bottom).
Comparison table of substrate aerators:
| Material | Aeration | Moisture retention | pH | Note |
|---|---|---|---|---|
| Agroperlite | +++++ | ++ | Neutral | Perfect. Doesn't decompose. |
| Vermiculite | +++ | +++++ | Neutral | It retains moisture more than it aerates. |
| Expanded clay | ++++ | + | Alkaline (requires rinsing) | Only as an additive, it makes the soil heavier. |
| Coco-chips | +++++ | ++++ | Neutral | Excellent component, lasts a long time. |
Problem 3: Poor surface drainage (water flows into the greenhouse)
This is a design issue that is often made when installing a greenhouse yourself.
DBN B.2.2-5:2011 «Landscaping» requires the provision of surface runoff management.
Solution:
- Minimum slope: The site on which the greenhouse stands must have a minimum slope (1-2% or 1-2 cm per 1 meter) from the structure.
- Drainage channels (Swells): Dig a shallow (10-15 cm) drainage channel around the perimeter of the greenhouse (especially on the upslope side) to catch and channel surface runoff.
- Gutters on the Greenhouse: Be sure to install gutters on the «Nova Teplitsa» greenhouse itself. This will reduce the water load on the foundation by a factor of ten.
Problem 4: Stagnation of water in deep layers (capital problem)
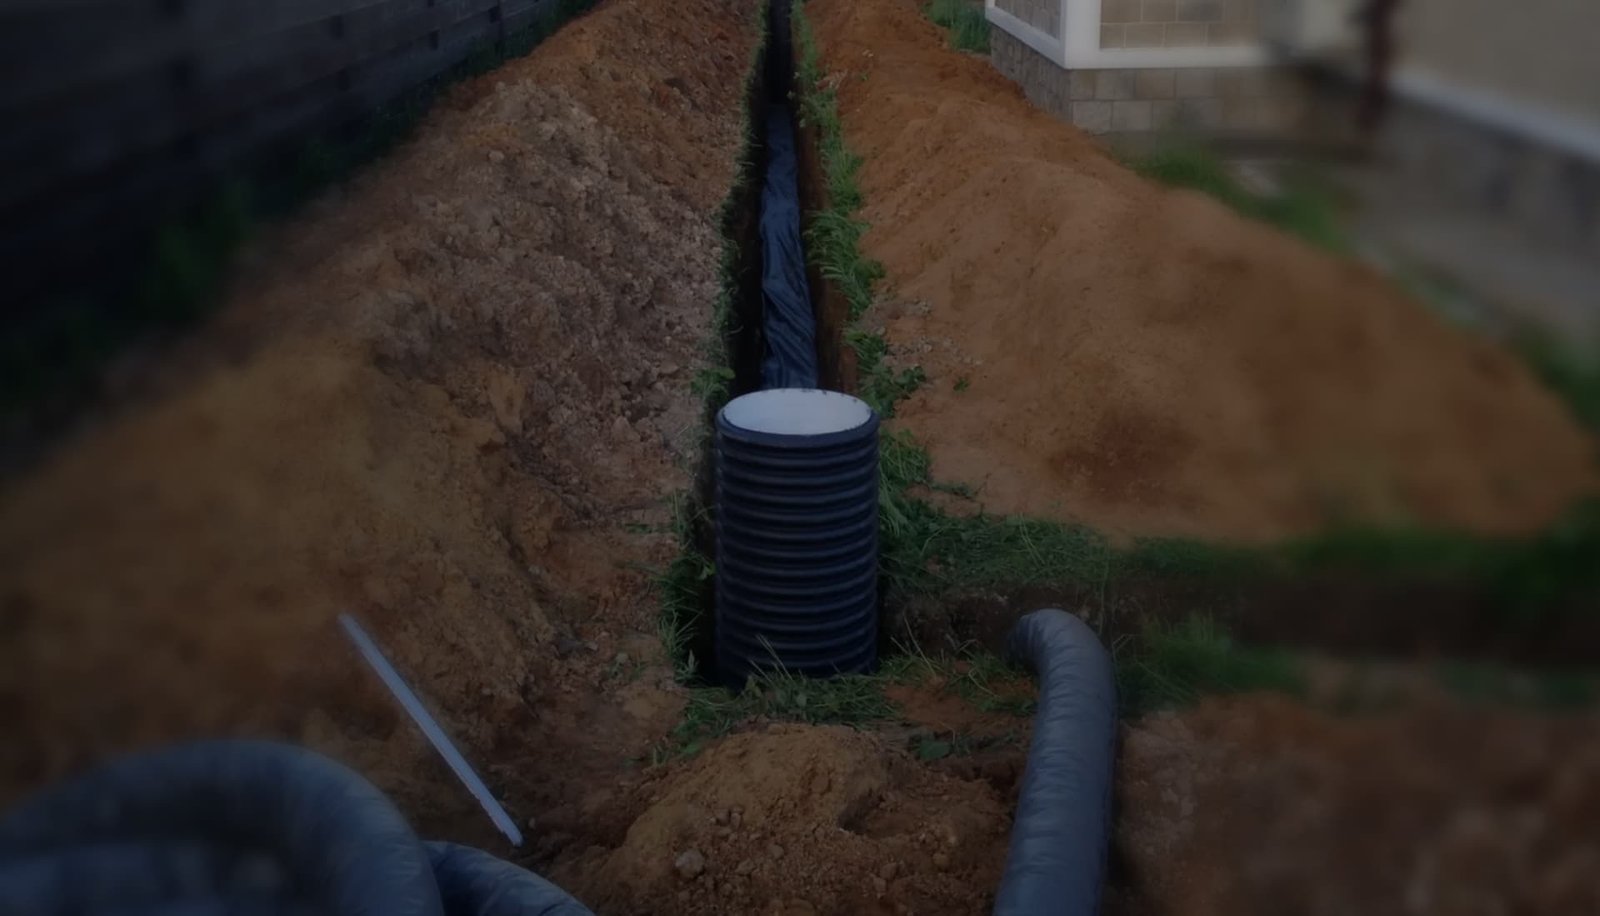
Solution: Installing a deep (French) drainage system. This is necessary if you have a high groundwater level.
- Trench: A trench 40-60 cm deep is dug inside or outside the greenhouse perimeter.
- Slope: The bottom of the trench should have a slope of 1-2 cm per meter towards the discharge point (drainage well, ditch).
- Layers (bottom to top):
- Compacted sand (5 cm).
- Geotextile (needle-punched, density 100-150 g/m²). It allows water to pass through but prevents soil particles from silting up the system.
- Crushed stone (fraction 20-40 mm), layer 10 cm.
- Perforated drainage pipe (Ø110 mm) wrapped in geotextile or coconut fiber.
- Crushed stone (pipe backfill).
- The edges of the geotextile are folded over to create an «overlap.».
- Filling with sand and fertile soil.
Checklist: Regular drainage checks
Drainage isn't a one-time installation. It requires annual maintenance.
Seasonal checklist:
- (Spring/Fall) Gutter Cleaning: Remove leaves and debris from greenhouse gutters.
- (Spring) Checking Drain Outlets: Ensure that the outlets of the deep drain pipes are not clogged with debris or grass.
- (Spring) Percolation Test: Perform a quick test at 1-2 spots if there were problems last season.
- (When changing the substrate) Washing the pots: Clean the drainage holes from roots and salts.
- (After a downpour) Visual inspection: Walk around the greenhouse. Are there any new puddles? Has the soil around the foundation been washed away?
How to Check Greenhouse Drainage: Conclusion
Drainage management is a proactive, not a reactive, process. Water problems in the 90% are easier (and cheaper) to prevent at the design stage than to correct in an existing greenhouse.
When you choose a greenhouse from «Nova Teplitsa,» you get not only a sturdy frame and high-quality polycarbonate, but also professional advice on how to properly install the structure, taking into account the hydrology of your property.
Don't let water «steal» your harvest. Take control of it.