



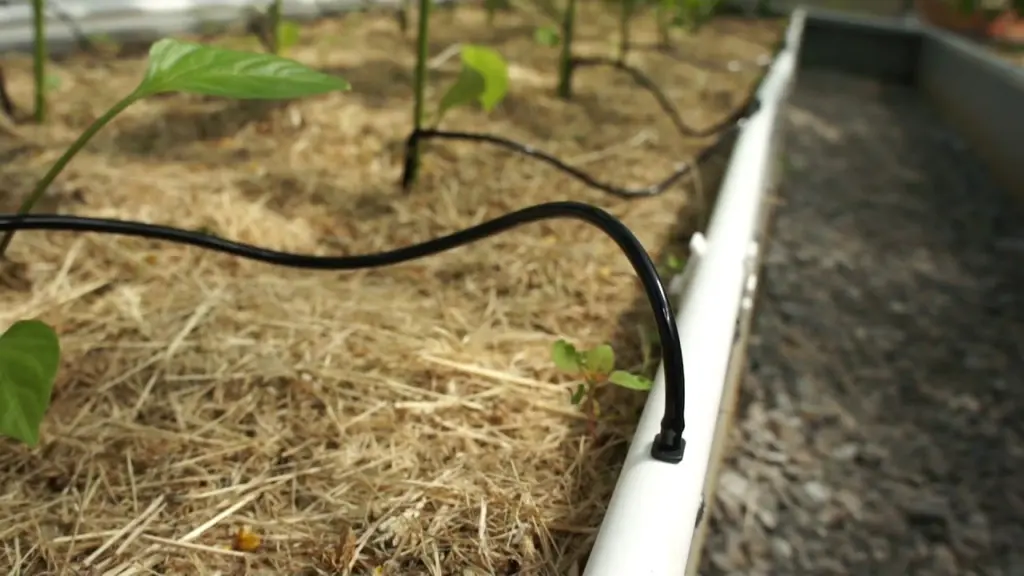
How to Frost-Protect Your Greenhouse Irrigation System: A Complete Engineer's Guide
A greenhouse irrigation system is a vital lifeline. It delivers water and nutrients, ensuring the health and productivity of the plants. But when cold weather sets in, this system becomes extremely vulnerable. Frozen water is not just «ice»; it is a destructive force capable of bursting pipes, breaking fittings, and rendering expensive equipment inoperable.
How greenhouse manufacturer (TM «Nova Teplitsa»), we know that the frame and covering protect your plants. But your task is to protect the infrastructure inside. This article isn’t just a collection of tips. It’s a technically sound guide that will answer all your questions about how to reliably preserve your irrigation system during the winter, based on the physics of the processes involved and Ukrainian building codes.
Enemy #1: The Physics of Freezing and Its Consequences
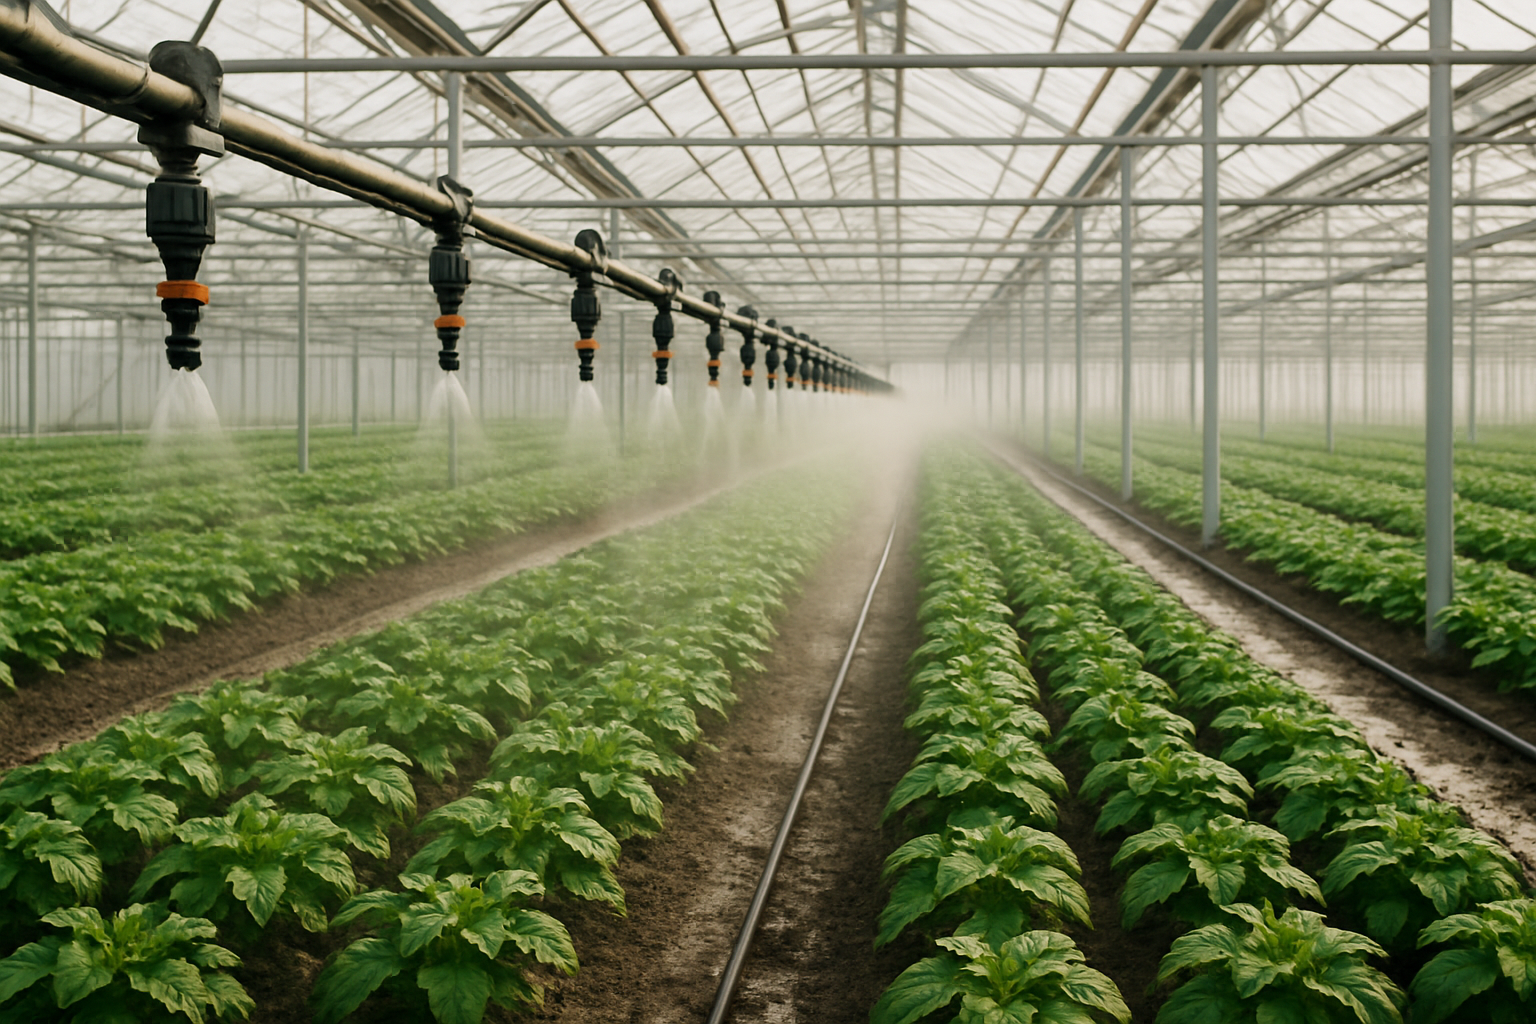
To defeat an enemy, you need to know them. The problem isn't the ice itself, but the physics of water's phase transition. Understanding this process is the key to proper defense.
Technical data: The force with which frost attacks
When water cools, like most substances, it contracts. But upon reaching +4°C, it exhibits an anomaly: its density reaches its maximum. Upon further cooling to 0°C and transitioning to a solid state (ice), its molecules rearrange into a crystalline lattice, and its volume suddenly increases by approximately 9%.
What does this mean in practice?
- Enormous pressure: If this 9% expansion is confined (occurs within a closed pipe), pressure builds up. Technical calculations show that this pressure can reach between 1,400 and 2,100 bar (20,000–30,000 PSI).
- Comparison: Your household water supply is designed for an operating pressure of 3-5 bar and a maximum (test pressure) of 10-16 bar. Ice pressure exceeds the strength of household pipes and fittings by hundreds of times. No plastic or household metal (brass, cast iron) can withstand such a load.
How Destruction Happens: Two Deadly Scenarios
The break does not always occur where the ice began to form.
- «Ice plug» and water hammer: Ice begins to form against the inside walls of the pipe. It grows inward, displacing the remaining water. This water exerts pressure on the rest of the system like a piston. If the valve at the other end of the system is closed, this «displacement pressure» can cause a weak point (such as a fitting) at the other end of the greenhouse to rupture.
- A rupture in a «closed volume» (the most common scenario): This occurs when a section of pipe containing water becomes «trapped» between two ice plugs (or an ice plug and a closed faucet). The water has nowhere to go. As it freezes, 9% expansion occurs in this isolated section, and the pressure instantly reaches a critical level, causing the pipe or fitting to burst from the inside.
Risk Zones: What Destroys First and Why
1. Fittings, taps and threaded connections:
- Why: These are the weakest links. Ball valves (especially brass ones) are water traps. Water always remains in the ball cavity, which, when frozen, ruptures the valve body. Threaded connections and elbows experience increased stress concentration and are the first to crack.
2. Pipes (especially rigid ones):
- Why: Polypropylene (PPR) and PVC pipes lose their flexibility and become brittle at subzero temperatures. The pressure from the ice causes a longitudinal crack. Polyethylene (HDPE) pipes are more elastic and can «swell» once, but repeated freeze-thaw cycles or severe freezing in a confined space will still cause them to fail.
3. Filter housings:
- Why: Filter flasks (especially transparent ones) are made of hard, brittle plastic (SAN, PC). They have a large diameter, meaning that even at the same pressure, the total force (Pressure x Area) on the flask walls is enormous. They crack like eggshells.
4. Pumps and valves (Expensive equipment):
- Pumps: Water remaining in the working chamber («volute») freezes and causes the cast-iron or plastic housing to rupture. Cast iron is a brittle material and cracks easily.
- Solenoid valves: These have complex internal geometry with fine channels and membranes. Freezing water can damage the internal mechanisms or rupture the housing. Repair is generally impossible.
5. Drippers and emitters:
- Why: The drippers' labyrinths have microscopic channels. Ice not only blocks them but also permanently deforms them, disrupting the calculated water flow rate. Your drip irrigation system loses uniformity.
Key takeaway: Your protection strategy depends entirely on one factor: will your greenhouse be heated in winter? The answer to this question divides all actions into two completely different scenarios.
Scenario A: «Cold Preservation» (For unheated seasonal greenhouses)
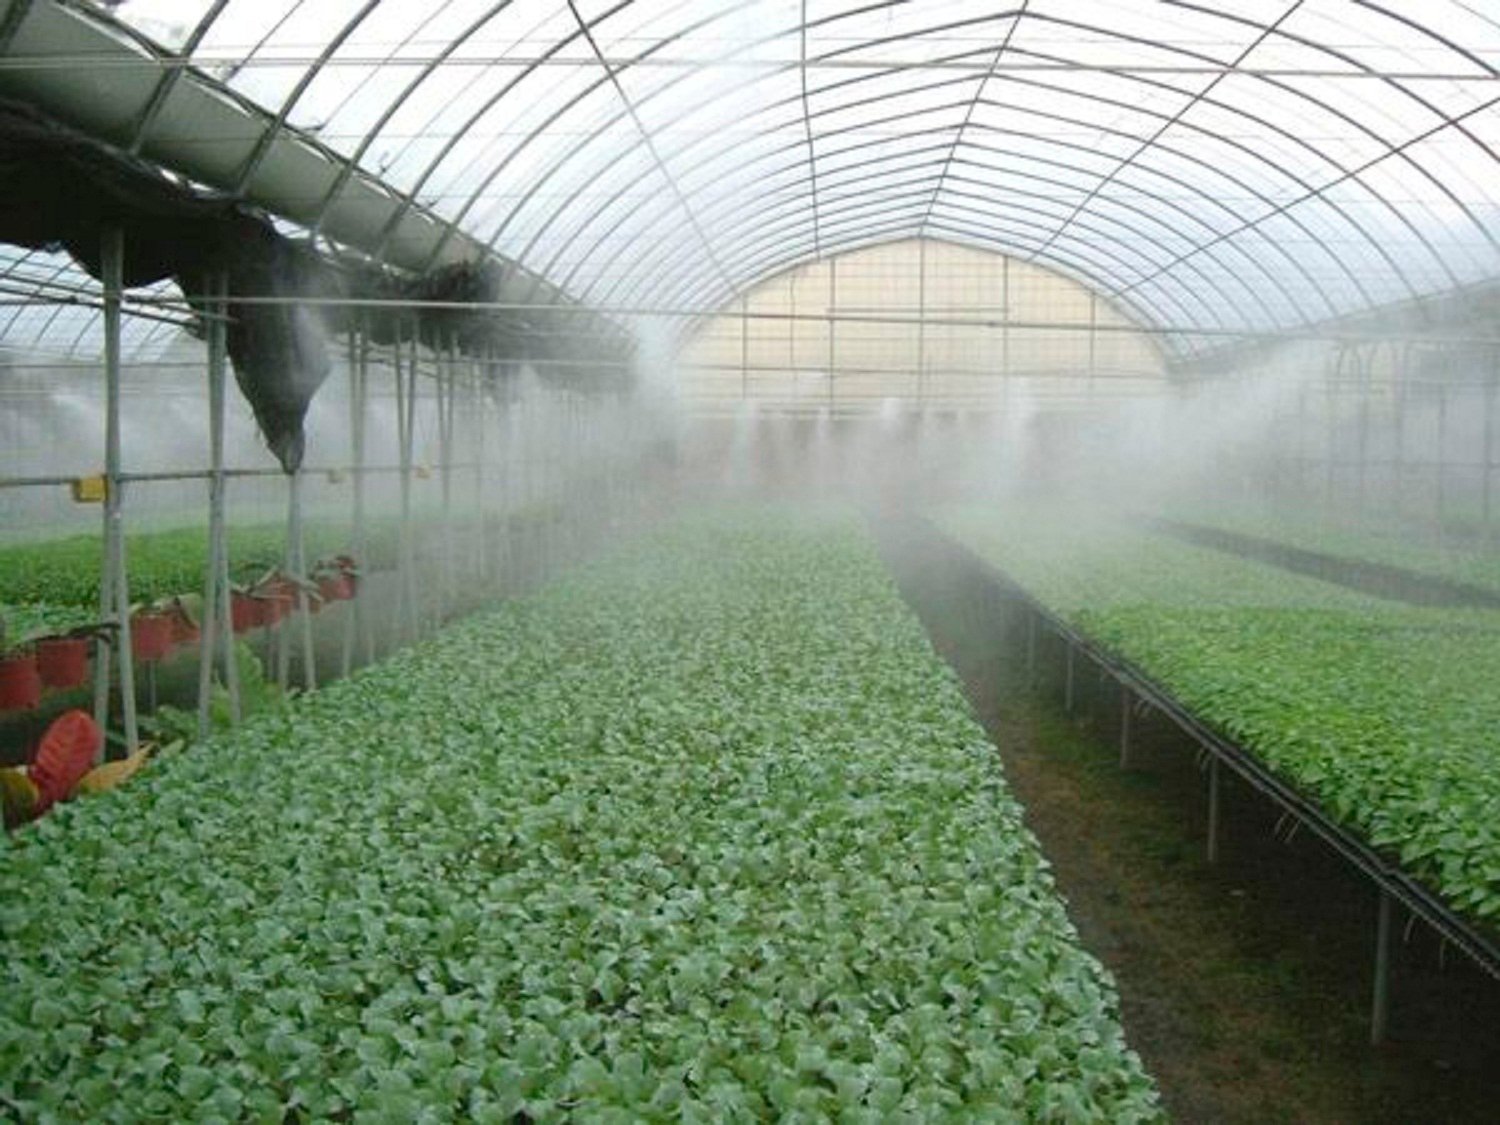
Philosophy: «No water—no problem»This is the most reliable and widespread method. It involves completely removing water from each element of the system.
Timing: Work is carried out before the first consistent night frosts. For most regions of Ukraine, this is late October to early November.
Step 1. Complete dehydration of the system (Gravity drain)
- Turn off the water supply: Turn off the main water supply valve to the greenhouse.
- De-energize the equipment: Turn off the pump station, irrigation controller, and any other electrical equipment in the system.
- Open all faucets: Open all the end faucets, drain valves, and valves. Start at the highest point in the system to let in air, and finish at the lowest.
- Drain the lines: If the system is designed correctly (with slopes), most of the water will drain by gravity through drain valves installed at the lowest points.
Step 2. «Purging» the system with compressed air (Critical step)
Gravity never removes all the water (100%). Water «lenses» remain in U-bends, drip emitters, and valves, and these are enough to cause a rupture. The only way to remove them is to purge the system with a compressor.
Necessary equipment: Household or car compressor with receiver and pressure reducer.
IMPORTANT: Safety precautions and approvals
- Pressure: Never apply pressure exceeding 1.5–2.5 atm (bar) to a plastic irrigation system (especially drip tape). High pressure will damage the emitters or cause the fittings to burst. Use a pressure reducer on the compressor.
- Connection: Connect the compressor to the system through a standard irrigation nozzle or at one of the highest points.
Blowing process:
- Divide the system into zones. Don't try to purge everything at once.
- Turn off all taps except one area (for example, one garden bed).
- Apply air (up to 2 atm). First, a mixture of water and air will flow, then clean air. Blow through the area for 2-3 minutes until you are sure it is dry.
- Close the valve for that zone and open the next one. Repeat the process.
- Walk like this each lines, including main pipes.
Step 3. Dismantling and storing key components
Even after purging, it is better to remove expensive equipment and store it in a dry room where the temperature does not drop below +5°C.
- Pumping station/Pump:
- Completely drain the water from the working chamber (snail) by unscrewing the special drain plug.
- Disconnect the pipes.
- Store in a warm, dry place.
- Filtration system:
- Unscrew the filter flasks (disc or mesh).
- Remove the cartridges.
- Rinse cartridges and flasks, dry thoroughly.
- Store disassembled. It is better to lubricate the rubber seals with silicone grease.
- Irrigation controller (Automatic):
- If the controller is an outdoor (sealed) model, simply remove the batteries (such as «Krona») from it.
- If the controller is a room controller and is installed in a greenhouse, it is better to remove it.
- Solenoid Valves: After purging, leave them in the «half-open» manual mode (if the design allows) to prevent the diaphragm from «sticking.».
- Drip tape/Tube:
- tape (with emitters) it is advisable to dismantle, carefully roll into coils and store in a dark place (protection from rodents).
- Blind tube (HDPE 16 mm) can be left in place if it is properly blown out.
Scenario B: «Active Protection» (For Heated Greenhouses)
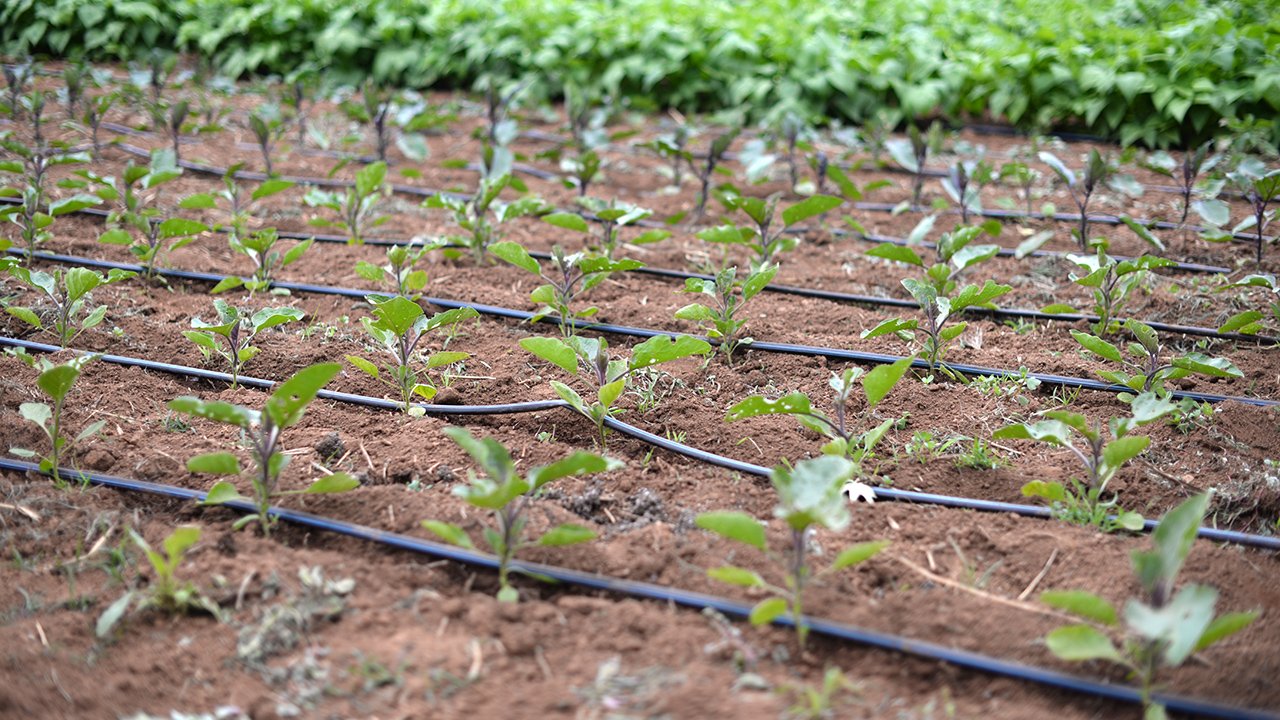
Philosophy: «Keep the system warm so the water doesn't freeze»This scenario is more complex and requires engineering solutions already at the design stage. The main risk here is not a planned winter, but rather emergency situations (power outages, boiler failure).
Method 1. Deepening pipelines below the freezing level of the soil (UBG)
This is the most reliable passive method for year-round greenhouses.
Technical data (Ukrainian standards):
According to DSTU-N B V.1.1-27:2010 «Construction Climatology,» the standard depth of soil freezing in Ukraine varies:
| Region | Standard freezing depth (loams/clay) |
|---|---|
| South (Odessa, Kherson, Crimea) | 0.8 m |
| Center (Kyiv, Kropyvnytskyi, Vinnytsia) | 1.0–1.2 m |
| West (Lviv, Ternopil) | 1.0 m |
| North and East (Sumy, Kharkov, Lugansk) | 1.2–1.4 m |
Solution: Main pipes supplying water to the greenhouse, Necessarily must be laid at a depth of at least 1.0–1.5 meters (depending on the region). The point where the pipe enters the greenhouse is the most vulnerable spot and must be insulated further.
Method 2. Insulating pipes inside the greenhouse
Even in a heated greenhouse, there are «cold zones»: the north wall, the foundation, and the entrance. Pipes installed in these areas require passive insulation.
- Materials: Foamed polyethylene (e.g., «Merlon») or foamed rubber.
- Thickness: For a greenhouse, a wall thickness of 9-13 mm of insulation is sufficient.
- Efficiency: Remember, insulation doesn't heat; it only slows down cooling. It won't save you if your heating goes out for an extended period.
Method 3. Active electric heating (Heating cable)
This is the «gold standard» for protecting critical components in heated greenhouses (water inlet, filtration system, pump station).
- Cable Type: Use a self-regulating heating cable. It automatically increases power in cold areas and decreases power in warm areas, preventing overheating.
- Markings and Power Rating: For plastic pipes (DN 25–DN 40), a cable with a power rating of 10–17 W/m is sufficient (for example, marked 17KST).
- Installation:
- The cable is attached to the pipe with aluminum tape (it improves heat transfer).
- The cable is mounted directly on plastic pipes.
- Above Necessarily Install thermal insulation (see Method 2). Without insulation, you’ll end up «heating the greenhouse» instead of the pipe.
Method 4: Ensuring constant circulation
If water is moving, it's much harder for it to freeze. In an emergency (if there's a risk of frost and the heating is out), you can set the system to a constant, slow flow or recirculate the water through a bypass using a low-power pump. This is an emergency measure, but it can save the system.
Selection of materials and proper design (Prevention)
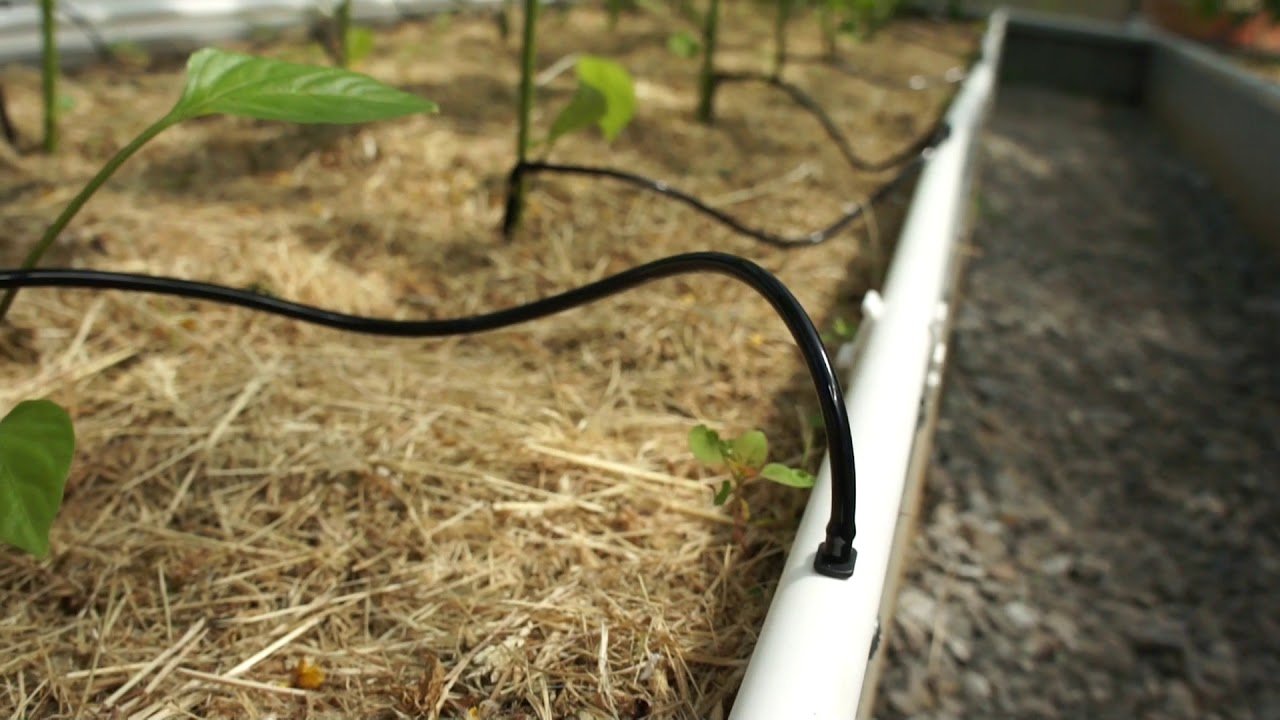
The best protection is the one that is built in at the design stage.
Comparison of greenhouse pipe materials:
| Material | Marking | Frost resistance (Elasticity) | Notes |
|---|---|---|---|
| Polyethylene (HDPE) | PE 80, PE 100, (HDPE) | High. Maintains elasticity. The best choice for underground installations. | The most common material for cold water supply. |
| Polypropylene (PPR) | PN 10, PN 16, PN 20 | Low. Becomes brittle at temperatures below -5°C. | Not recommended for unheated greenhouses unless 100% drainage guarantee is provided. |
| Metal-plastic (PEX-AL-PEX) | — | Average. The outer PEX layer is flexible, but in extreme cold, water can damage the adhesive layer. | Vulnerable points are compression fittings. |
| Drip tape | — | Low. Thin walls, easily damaged by ice. | Always requires blowing or dismantling. |
Key Principles of «Frost-Resistant» Design:
- Slopes: Design all mains with a minimum slope of 1-2% (1-2 cm per 1 meter of pipe) towards the discharge point.
- Drain Valves: Install a drain valve at every low point in the system (including U-shaped fittings). This will save you hours of maintenance.
- Minimum bends: The simpler the routing, the easier it is to drain and blow through.
Summary: Checklist and Comparison of Strategies
| Characteristic | Scenario A: Preservation (Cold Greenhouse) | Scenario B: Active Protection (Warm Greenhouse) |
|---|---|---|
| Target | Remove 100% water | Maintain system temperature > 0°C |
| Key process | Drainage + Blowing with a compressor | Heating + Insulation + Heating cable |
| Risks | Incomplete drainage; water «puddles» | Emergency power/heating outage |
| Vulnerable nodes | Filters, pumps, taps, pipe bends | Water inlet into the greenhouse, pipes near the walls, filtration unit |
| Labor intensity | High in autumn and spring (installation/dismantling) | High during construction, low during operation |
A Brief Checklist for «Cold Preservation»:
- Shut off the central water supply.
- De-energize the pump and controller.
- Open all drain and final valves.
- Blow out every line with a compressor (pressure up to 2 atm).
- Remove and dry the filters.
- Drain the water from the pump and remove it.
- Remove the batteries from the controller.
- Roll up the drip tape.
- Leave the ball valves in a half-open position (45°).
How to Protect a Greenhouse Irrigation System from Frost: Conclusion
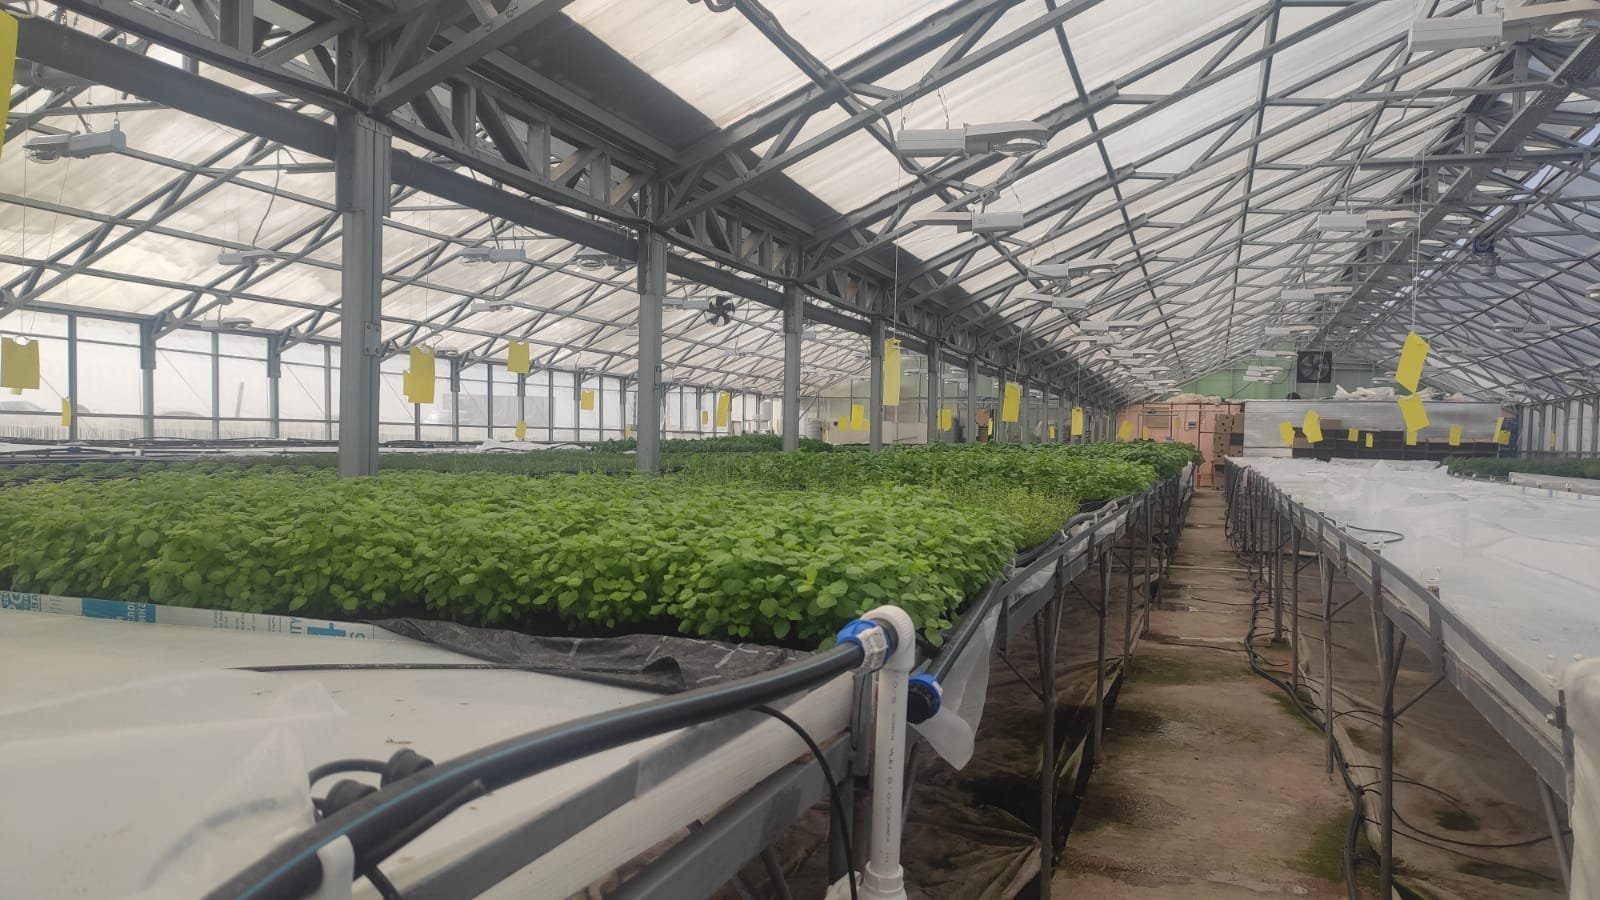
Frost protection for your irrigation system isn't an option, it's a mandatory procedure. The cost of a frost-damaged pump, an expensive filtration unit, or a buried main line is disproportionately greater than the time spent on proper preservation.
When you choose a greenhouse from «Nova Teplitsa,» you’re investing in a reliable «home» for your plants. Make sure its «life support systems» are just as well protected against winter hazards.