Turnip is an undeservedly forgotten vegetable by many, which has not only a pleasant taste, but also many useful properties. Growing turnips in a greenhouse allows you to get a harvest almost all year round, regardless of weather conditions. In this article, we will examine in detail all the subtleties and nuances of greenhouse cultivation of turnips, from choosing a variety to harvesting and dealing with possible problems.
Benefits of Growing Turnips in a Greenhouse
Why is it worth giving preference to greenhouse cultivation of turnips?
- Season extension: In the greenhouse You can start sowing much earlier than in open ground and get several harvests per season. In heated greenhouses, year-round cultivation is possible.
- Protection from adverse weather conditions: Sudden temperature changes, frost, hail or prolonged rains will not harm your plantings.
- Microclimate control: It is easier to maintain optimal temperature, humidity and lighting in a greenhouse, which promotes better growth and development of plants.
- Reduced risk of disease and pests: An enclosed space allows for more effective control of pathogens and insects.
- Higher quality and quantity of harvest: When agricultural technology is followed, greenhouse turnips often turn out more tender, juicy and larger.
Choosing a turnip variety for a greenhouse
The right choice of variety is the key to success. Early and mid-season varieties that are resistant to flowering and adapt well to protected soil conditions are best suited for greenhouse conditions.
Popular varieties for greenhouses:
- 'Petrovskaya-1': One of the most famous and reliable varieties. Mid-season (60-80 days), yellow, flat-round root crops, juicy, dense flesh with a slight spiciness. Stores well.
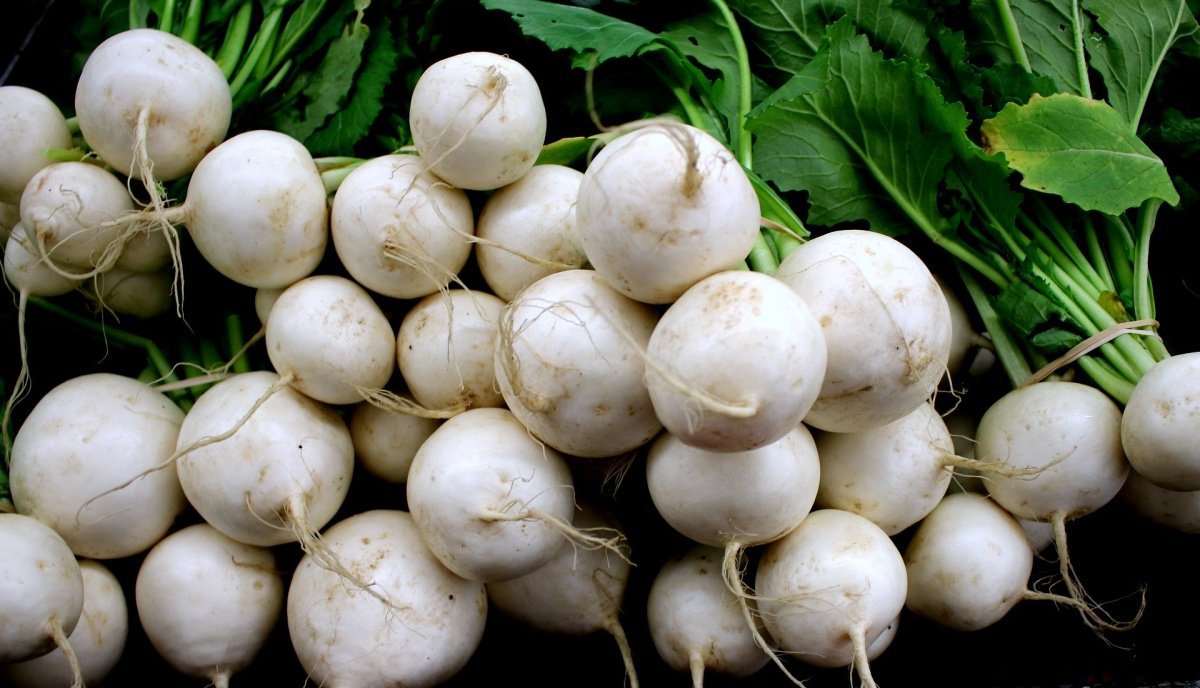
- 'Mayskaya Belaya': Early ripening variety (50-60 days). Root crops are white, round or flat-round, with tender, juicy flesh without bitterness. Ideal for summer consumption.
- 'Snezhok': Early maturing (45-55 days). Root crops are white, round, with very tender and juicy pulp. It is distinguished by high productivity.
- 'Geisha': Japanese variety, early ripening (50-60 days). Root crops are white, elongated-cylindrical, with smooth skin. The pulp is very tender, sweetish, almost without spiciness.
- 'Purple Top White Globe': A popular mid-season variety (55-65 days). The roots are large, round, two-colored: the upper part is purple, the lower part is white. The flesh is white, dense, juicy.
What to look for when choosing a variety?
- Ripening time: For an early harvest, choose ultra-early and early varieties.
- Resistance to bolting: Particularly important for spring and early summer sowings, when long daylight hours can cause bolting.
- Taste: Some varieties have a more pronounced spiciness, others are delicate and sweet.
- Storage: If you plan to store the harvest, choose varieties with good storage quality.
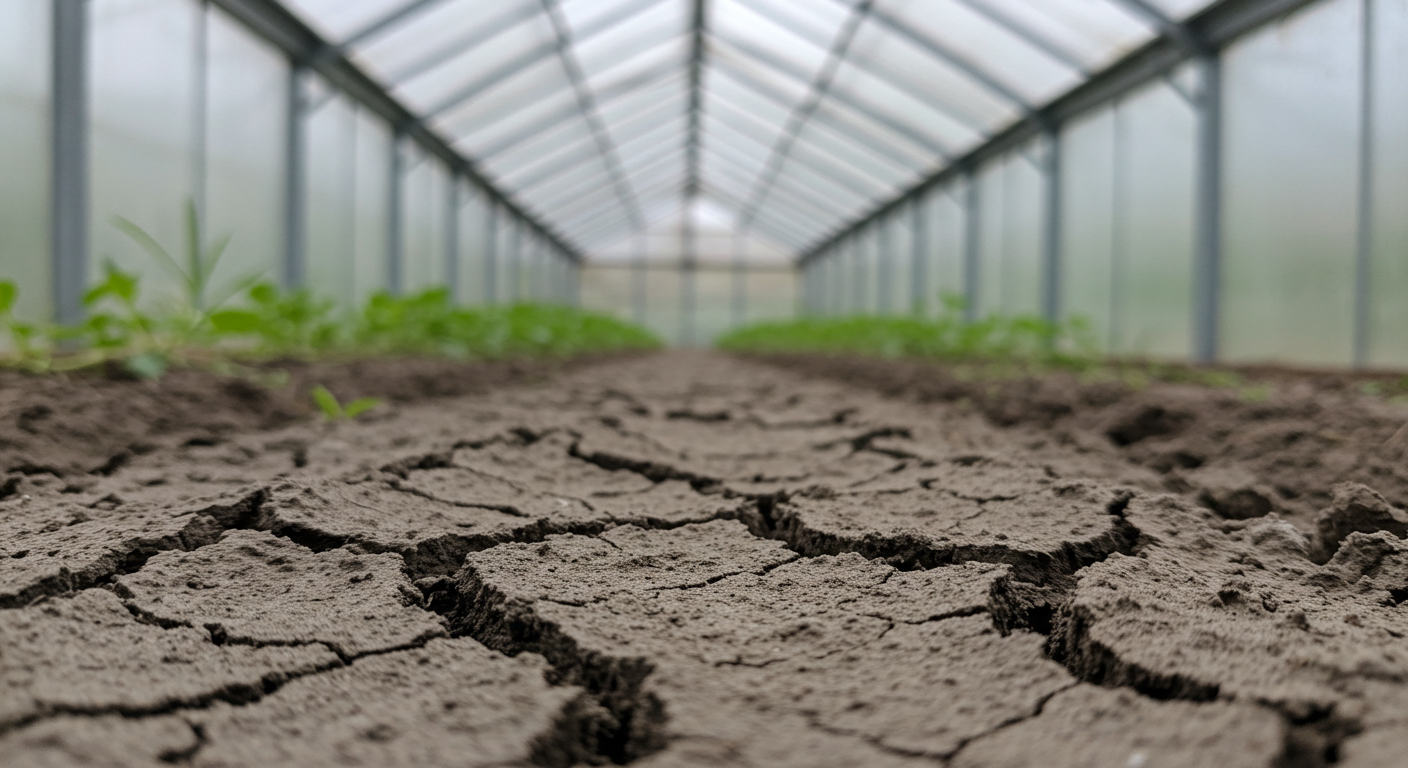
Preparing the greenhouse and soil
High-quality preparation of the greenhouse and soil is the basis for the future harvest.
When to start preparing?
It is better to start preparing the greenhouse 2-3 weeks before the expected sowing date.
Soil requirements:
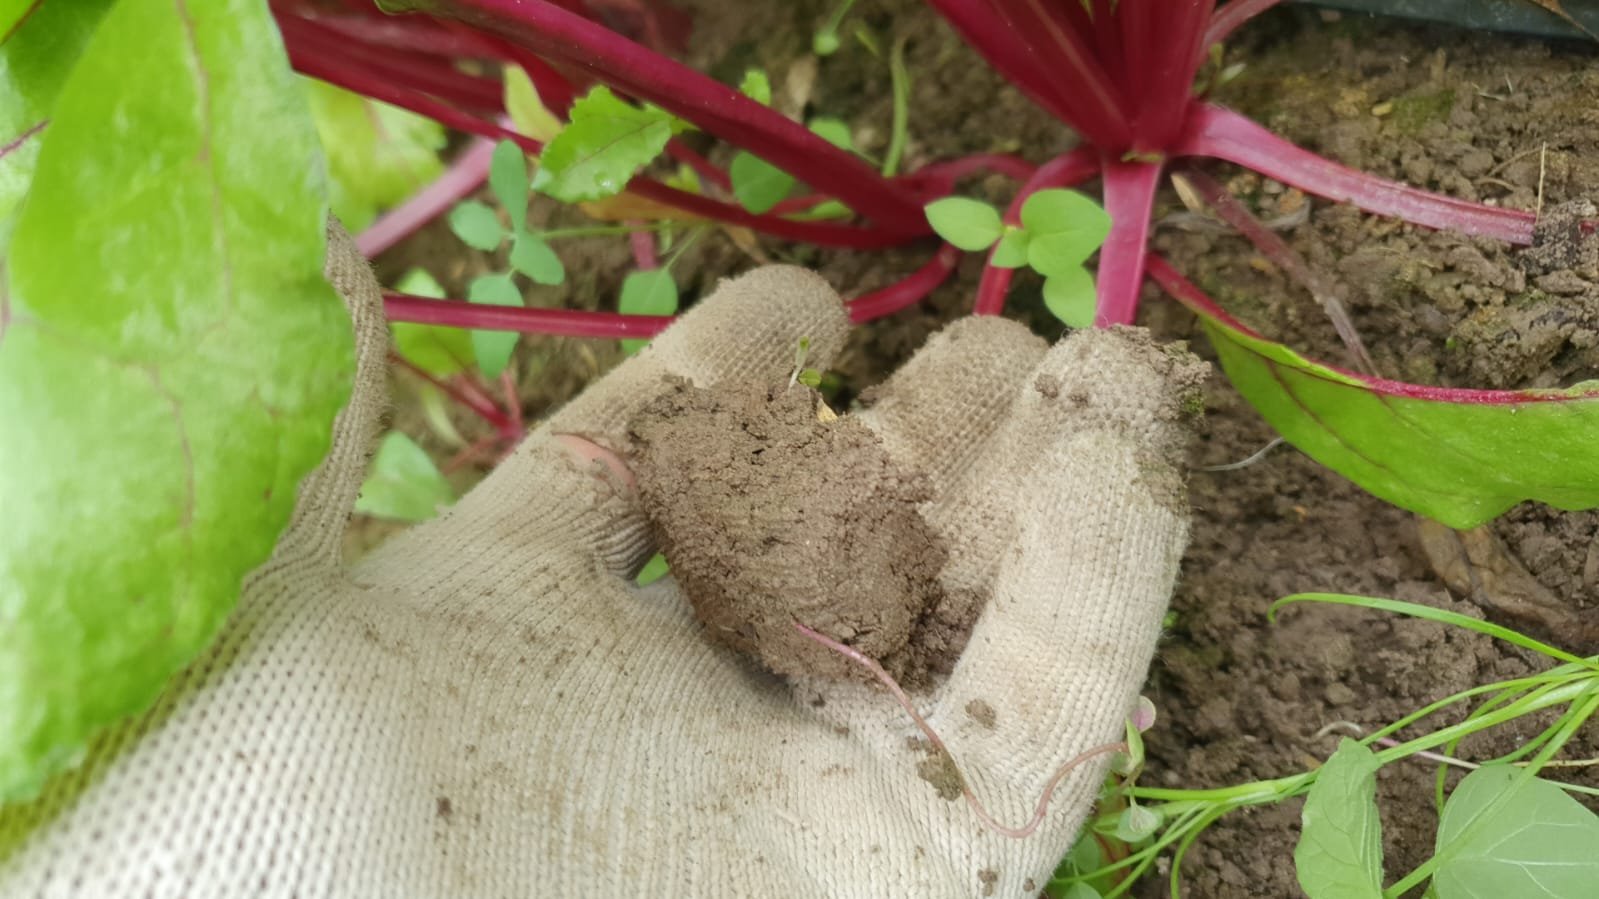
Turnip prefers light, loose, fertile soils with good aeration and moisture capacity. The best option is sandy loam or light loamy soils.
- Acidity (pH): 6.0-7.0 (neutral or slightly acidic). If the acidity is high, the soil should be limed (dolomite flour, slaked lime).
- Organic matter: Turnips respond well to organic matter, but not fresh manure. Use well-rotted compost or humus.
Soil preparation stages:
- Cleaning and disinfecting the greenhouse: Remove plant debris from previous crops. Wash the greenhouse structures with a soap solution, then treat with a disinfectant (for example, a copper sulfate solution or special preparations).
- Digging the soil: Digging depth – 20-25 cm.
- Fertilization:
- Organic: Well-rotted compost or humus (5-7 kg/m²).
- Mineral (per 1 m²):
- Superphosphate: 30-40 g
- Potassium sulfate or potassium salt: 15-20 g
- Nitrogen fertilizers (for example, ammonium nitrate - 10-15 g / m²) are best applied in the spring immediately before sowing or as top dressing, since turnips tend to accumulate nitrates.
- Formation of beds: The optimal width of the beds is 80-100 cm, height - 15-20 cm. The distance between the beds is 40-50 cm for ease of maintenance.
- Leveling and compacting: Rake the surface of the beds and compact lightly.
Greenhouse conditions:
- Temperature:
- Seed germination: +2-5°C (optimally +18-20°C for rapid germination).
- Growth and development: +12-18°C during the day and +6-8°C at night. Turnip is a cold-resistant crop, but sudden temperature changes are undesirable.
- Lighting: Turnips require a lot of light, especially at the initial stages of growth. Provide maximum natural light. With early spring or autumn sowing, additional lighting with phytolamps may be required (up to 12-14 hours of daylight).
- Ventilation: Regular ventilation is necessary to prevent overheating, reduce humidity and prevent fungal diseases.
Sowing turnip seeds
When to plant turnips in a greenhouse?
The sowing time depends on the type of greenhouse (heated or not) and the desired time of harvest:
- Early spring sowing (for summer harvest):
- In unheated greenhouses: late March – April (when the soil warms up to +5-8°C).
- In heated greenhouses: February – March.
- Summer sowing (for fall harvest and storage): July – early August. This sowing often produces better quality root crops for winter storage, as they are formed at lower temperatures and shorter daylight hours.
- Winter sowing (in unheated greenhouses): October – November (before the onset of stable frosts). Seeds will germinate in early spring.
- Year-round cultivation: Possible in well-heated and well-lit greenhouses, observing intervals between sowings.
Seed preparation:
- Calibration: Select large, full-weight seeds.
- Checking for germination: If the seeds are old, carry out a test sowing.
- Soaking (optional): To speed up germination, seeds can be soaked in warm water (+20-25°C) for 12-24 hours or in a growth stimulator solution (for example, “Epin”, “Zircon”) according to the instructions.
- Etching: To prevent diseases, seeds can be treated with a weak solution of potassium permanganate (1 g per 100 ml of water) for 15-20 minutes, then rinsed.
Sowing technique:
Turnips are most often sown directly into the soil.
- Cutting furrows: On the prepared beds, make furrows 1.5-2 cm deep.
- Sowing scheme:
- Distance between rows: 20-30 cm.
- Distance between seeds in a row: 3-5 cm (with subsequent thinning).
- Watering the furrows: Before sowing, the furrows can be watered with warm water.
- Seed placement: Distribute the seeds evenly along the furrows. For convenience, small turnip seeds can be mixed with sand or a seeder can be used.
- Sealing the seeds: Sprinkle the seeds with loose soil or a peat-sand mixture in a layer of 1-1.5 cm. Compact lightly.
- Watering: Water the crops carefully using a watering can with a fine strainer.
- Covering (if necessary): Before the seedlings emerge, the beds can be covered with agrofibre or film to retain moisture and heat.
Seedlings usually appear within 3-7 days at optimum temperature.
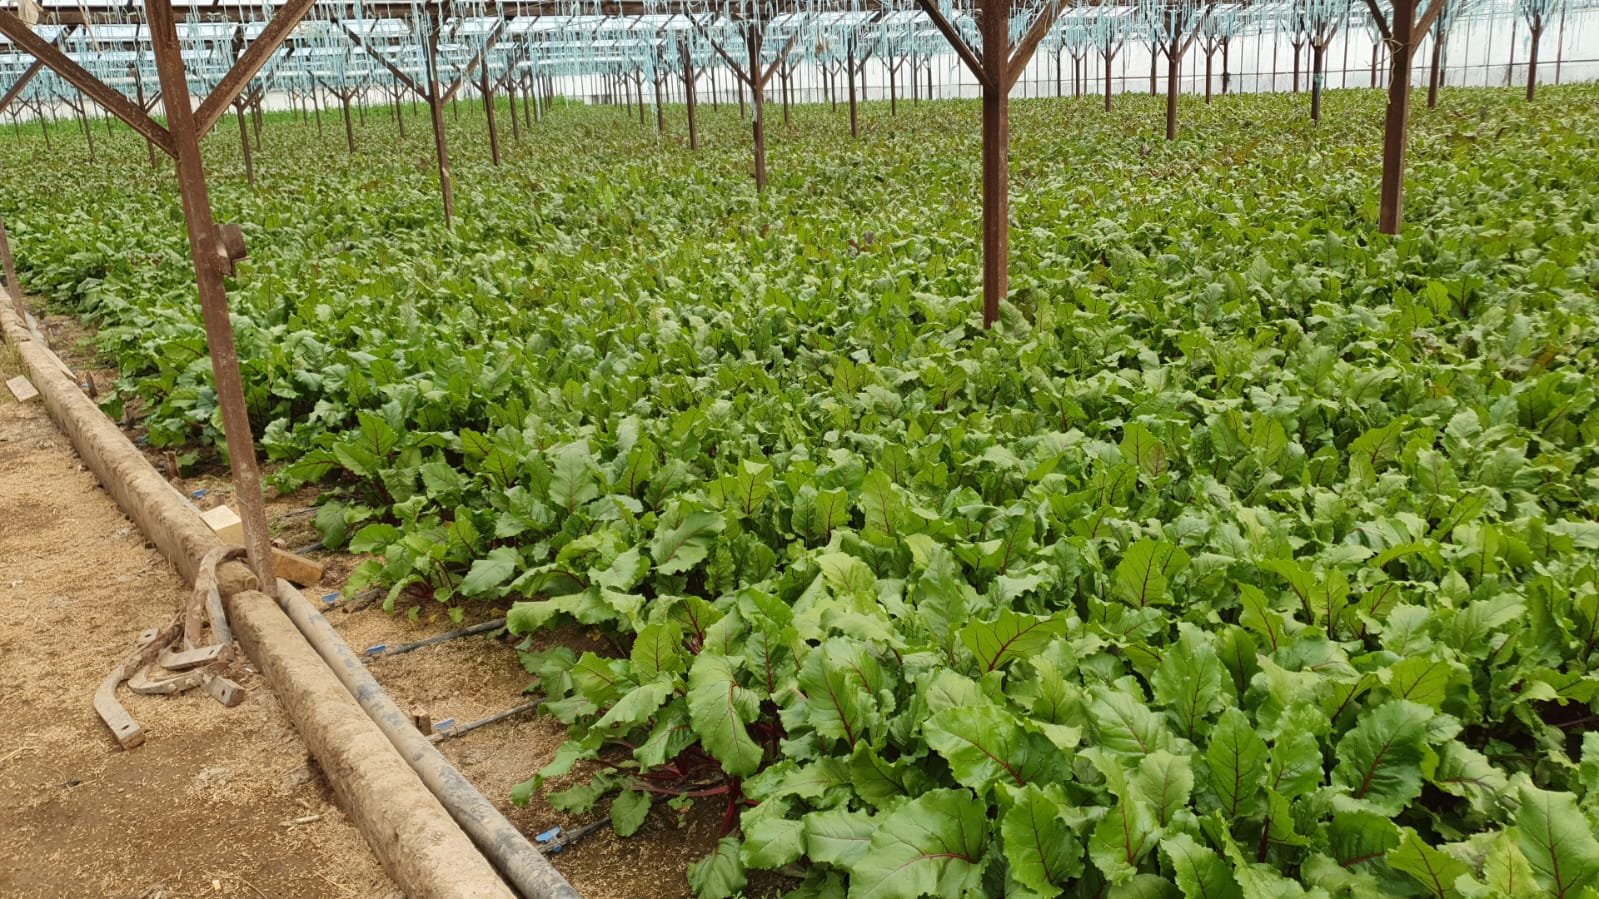
Caring for turnips in a greenhouse
Proper care is the key to a bountiful and high-quality harvest.
- Watering:
Turnip loves moisture, especially during the period of root formation.
- Frequency: Water regularly, without allowing the soil to dry out. On average, 1-2 times a week, depending on the weather and the stage of development.
- Norm: The soil should be moistened to a depth of 15-20 cm.
- Water temperature: Use settled water at room temperature or slightly warmed.
- Watering method: Drip irrigation or watering under the roots is best, avoiding water getting on the leaves (especially in sunny weather).
- Important: Uneven watering (alternating drought and abundant moisture) can lead to cracking of root crops and deterioration of their taste.
- Thinning:
This is a mandatory procedure for obtaining large and even root crops.
- First thinning: In the phase of 1-2 true leaves, leaving 3-4 cm between plants.
- Second thinning: 2-3 weeks after the first, when the root crops reach a diameter of 1.5-2 cm. The final distance between plants is 8-15 cm (depending on the variety and the desired size of the root crops).
- Technique: Thin out carefully, being careful not to damage the roots of the remaining plants. This is best done after watering. The young plants that are pulled out can be used as food as greens.
- Loosening and weeding:
- Loosening: Regularly loosen the soil between the rows and around the plants (especially after watering and rain) to improve aeration and prevent the formation of a soil crust. Loosening depth is 4-6 cm.
- Weeding: Remove weeds promptly, as they compete with turnips for nutrients, moisture and light, and can also be a source of diseases and pests.
- Top dressing:
If the soil is well-fertilized, turnips can do without additional fertilizing. However, on poor soils or if there are signs of nutritional deficiency, 1-2 fertilizing can be done.
- First feeding: 2-3 weeks after germination (or after the first thinning). You can use:
- Solution of mullein (1:10) or bird droppings (1:15).
- Complex mineral fertilizer with a predominance of phosphorus and potassium (for example, nitroammophoska – 15-20 g/10 l of water).
- Second feeding (if necessary): During the period of the beginning of root crop formation (2-3 weeks after the first). Emphasis on potassium fertilizers.
- Wood ash: 1 glass per 1 m² (scatter and dig into the soil) or ash infusion (1 glass per 10 liters of water, leave for 24 hours).
- Potassium sulfate: 10-15 g/10 l of water.
- Important: Avoid excess nitrogen fertilizers, especially in the second half of the growing season, as this leads to increased growth of tops to the detriment of the root crop and the accumulation of nitrates.
- Maintaining the microclimate:
- Temperature: Monitor the temperature in the greenhouse. If necessary, ventilate to avoid overheating (above +25°C, turnips feel depressed).
- Humidity: Optimal air humidity is 60-70%. At high humidity (more than 80%) the risk of fungal diseases increases. Regular ventilation helps to control humidity.
- Ventilation: Ensure good air circulation. Open windows and doors, especially on hot days.
Disease and pest control
In greenhouse conditions, the risk of some diseases and pests may be higher, so prevention is important.
Common pests of turnips:
- Flea beetle: Small jumping beetles that chew ulcers on the leaves of young plants. Particularly active in dry, hot weather.
- Control measures: Dusting plants with wood ash, tobacco dust (can be mixed with lime). Installing glue traps. Treatment with insecticides (Aktara, Iskra, Fitoverm - strictly according to the instructions and observing the waiting periods).
- Cabbage fly (spring and summer): Larvae damage roots.
- Control measures: Repelling (laying twigs of wormwood and tansy around plants). Sprinkling the soil around the stems with a mixture of tobacco dust and ash. Preventive watering with insecticides during mass flight of the fly.
- Cabbage aphids: Small insects that form colonies on the underside of leaves and suck out the juice.
- Control measures: Spraying with a soap-ash solution, infusions of tobacco, garlic, onion peel. In case of severe damage - insecticides (Biotlin, Aktara).
- Slugs and snails: May damage leaves and roots.
- Control measures: Manual collection. Setting up traps (e.g. beer containers). Use of metaldehyde-based preparations (with caution).
Common diseases of turnips:
- Clubroot of cruciferous plants: A fungal disease that attacks the roots, causing growths to form. Plants lag in growth and wilt.
- Control measures: Crop rotation (do not plant after other cruciferous plants for at least 3-4 years). Liming of acidic soils. Destruction of affected plants. Soil disinfection. Selection of resistant varieties.
- Blackleg: A fungal disease that affects seedlings and young plants. The base of the stem darkens, becomes thinner, and the plant falls over.
- Control measures: Seed treatment. Use of sterile substrate. Avoidance of over-watering and dense crops. Treatment of soil and plants with fungicides (Previkur, Fitosporin-M).
- Vascular bacteriosis (black rot): Leaves turn yellow, veins turn black, black vessels are visible on the cut of the root crop.
- Control measures: Crop rotation. Destruction of plant residues. Control of insect vectors. Seed treatment.
- Powdery mildew: White powdery coating on leaves.
- Control measures: Ensure good ventilation. Thinning out plantings. Treatment with fungicides (Topaz, Skor) or biological preparations (Fitosporin-M).
Preventive measures:
- Crop rotation in a greenhouse.
- Use of healthy planting material.
- Timely removal of weeds and plant debris.
- Regular ventilation of the greenhouse.
- Disinfection of greenhouse and tools.
- Attracting beneficial insects (e.g. ladybugs to control aphids).
Harvesting and storage
When to harvest turnips?
Harvesting times depend on the variety and growing purposes:
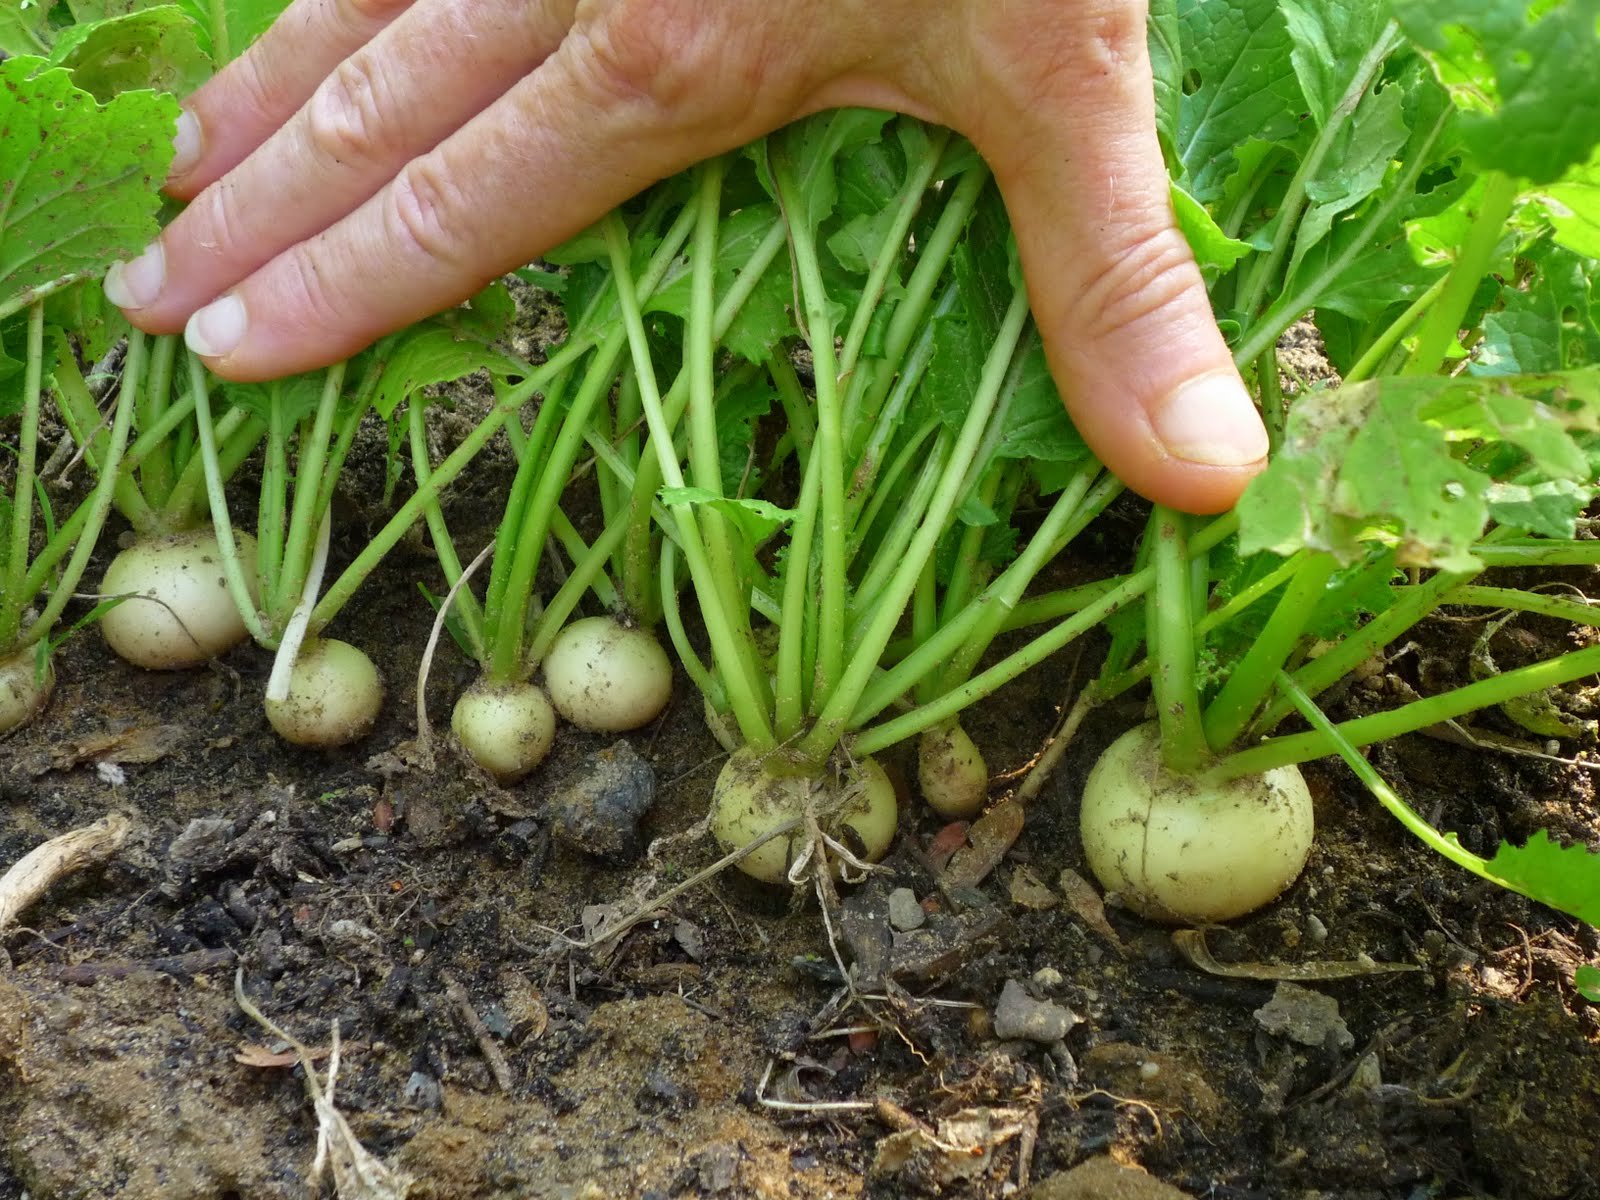
- For summer consumption: Root crops are harvested selectively, as they reach a diameter of 5-8 cm. This turnip is the most tender and juicy.
- For autumn and winter storage: Harvesting is carried out before the onset of stable frosts (usually in September - early October). Root crops should be fully formed, but not overgrown (optimum diameter is 8-12 cm). Overgrown turnips become coarse and fibrous.
How to harvest turnips?
- It is better to clean in dry weather.
- Carefully dig up the root crops with a pitchfork or shovel, trying not to damage them.
- Clean the turnips from soil.
- Trim the tops, leaving petioles 1-2 cm long. Do not twist the tops to avoid damaging the neck of the root crop.
- Discard damaged, diseased or frostbitten root vegetables – they cannot be stored.
Storing turnips:
- Short-term storage: Turnips can be stored in the vegetable drawer of the refrigerator for 2-4 weeks.
- Long term storage:
- In a cellar or basement: Optimal conditions are temperature +0-2°C and air humidity 90-95%. Turnips can be stored in boxes, sprinkling layers with wet sand, peat or sawdust.
- On the balcony (insulated): In boxes, protected from light and frost.
- Preparation for storage: Before storing, it is advisable to dry the turnips for several days in a cool, ventilated place, protected from direct sunlight.
Potential problems when growing turnips in a greenhouse and their solutions
- Bolting (flowering): The plant prematurely forms a flower stalk to the detriment of the root crop.
- Reasons: Long daylight hours (especially with early spring sowing), sudden temperature changes, drought, dense sowing, use of old seeds.
- Solution: Select varieties resistant to flowering. Observe the sowing dates (for spring harvest – as early as possible, for autumn – in the second half of summer). Provide regular watering. Timely thinning.
- Cracking of root crops:
- Causes: Sharp fluctuations in soil moisture (heavy watering after a long drought). Excess nitrogen fertilizers.
- Solution: Regular and uniform watering. Balanced fertilization.
- Woody or bitter roots:
- Causes: Overgrowing (untimely harvesting). Insufficient or irregular watering. Hot weather. Excess nitrogen.
- Solution: Timely harvesting. Ensuring sufficient and regular watering. Maintaining optimal temperature in the greenhouse.
- Hollowness of root crops:
- Causes: Boron deficiency. Excess nitrogen with potassium deficiency.
- Solution: Add boron fertilizers (for example, spray with a solution of boric acid - 2 g per 10 l of water) when signs of deficiency appear. Balanced nutrition.
Growing turnips in a greenhouse with your own hands
Growing turnips in a greenhouse is a fascinating and rewarding activity. By following simple rules of agricultural technology, you can provide yourself and your family with tasty and healthy root crops for a long time. Experiment with varieties, carefully monitor the condition of the plants, and a rich harvest will not keep you waiting!